Raised Garden Bed, Part 2

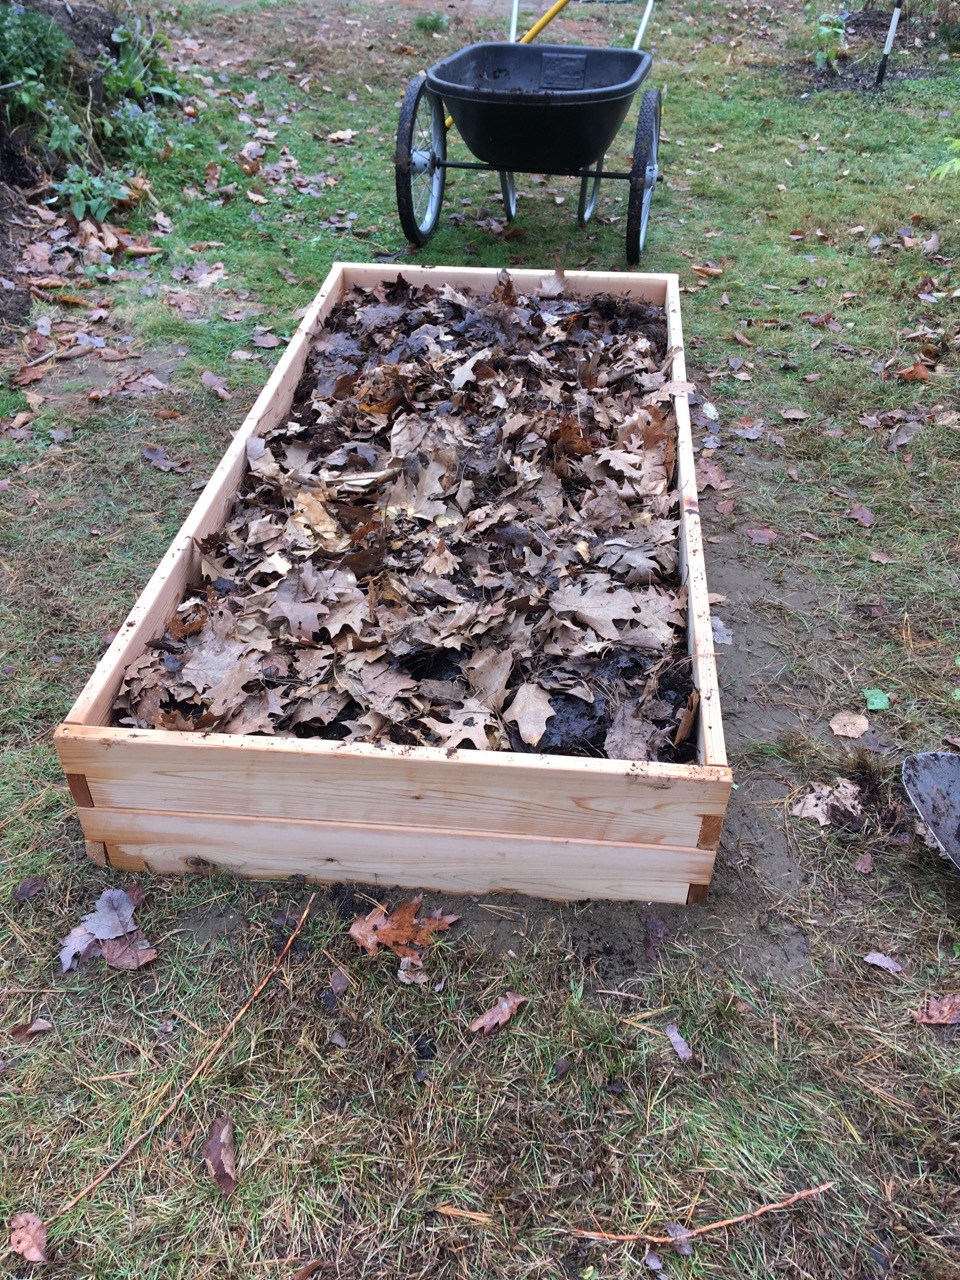
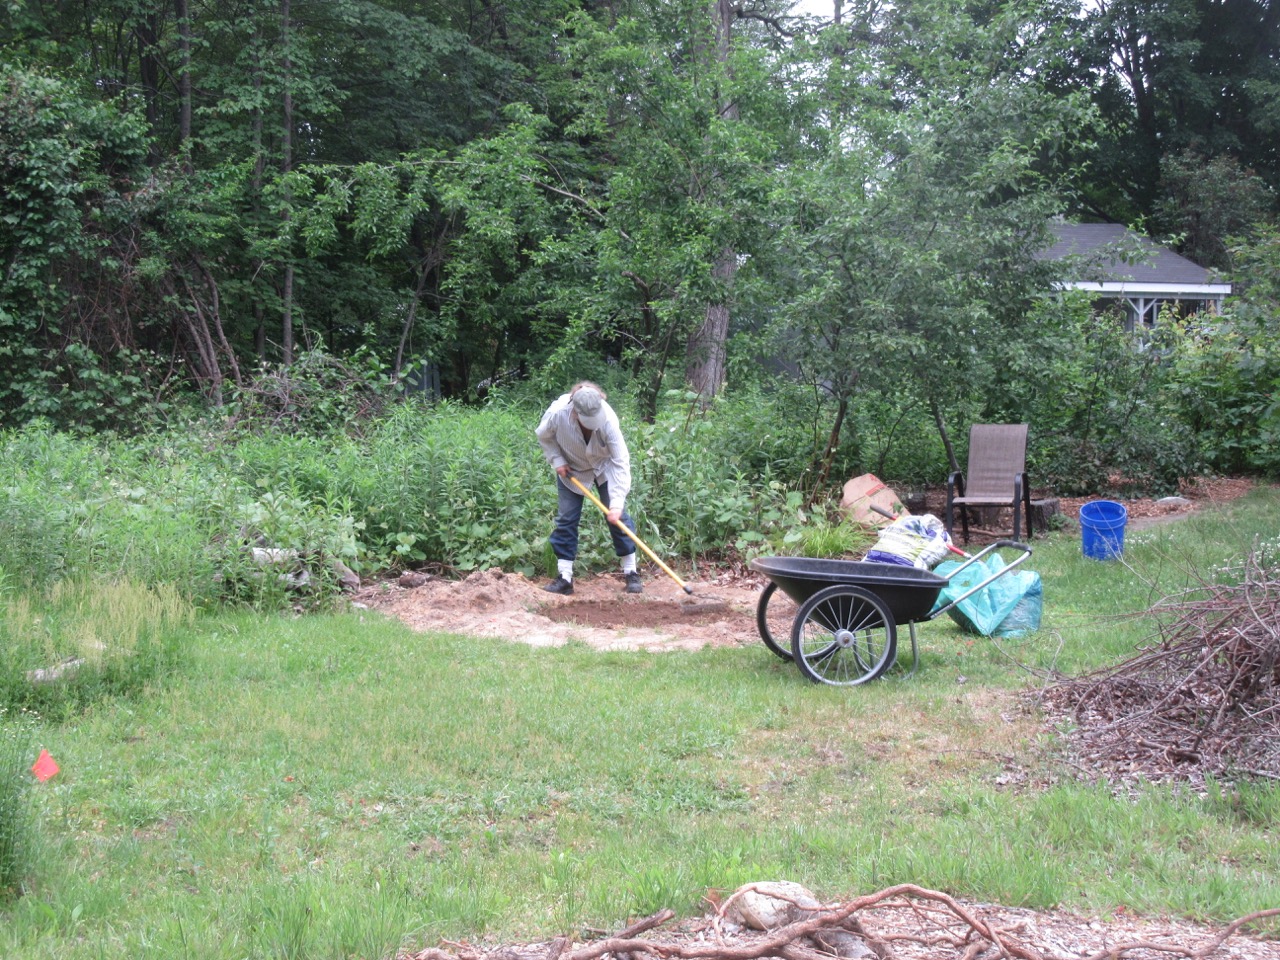
After putting in the structure of my cedar raised garden bed, I have been gradually filling it with layers of compostable material along with the soil I had taken out. This is called “sheet mulching” or “lasagna gardening” and is a great easy method to enrich the soil. In its most complete form, sheet mulching includes laying down cardboard or newspapers on top of whatever is growing on the ground (lawn, etc.) without any digging required. But since I wanted to have a deeper root zone in this raised bed, I did weed the soil and dig down deeper. Autumn is an excellent time to sheet mulch because the bed will have all winter to decompose and be ready for planting in the spring.

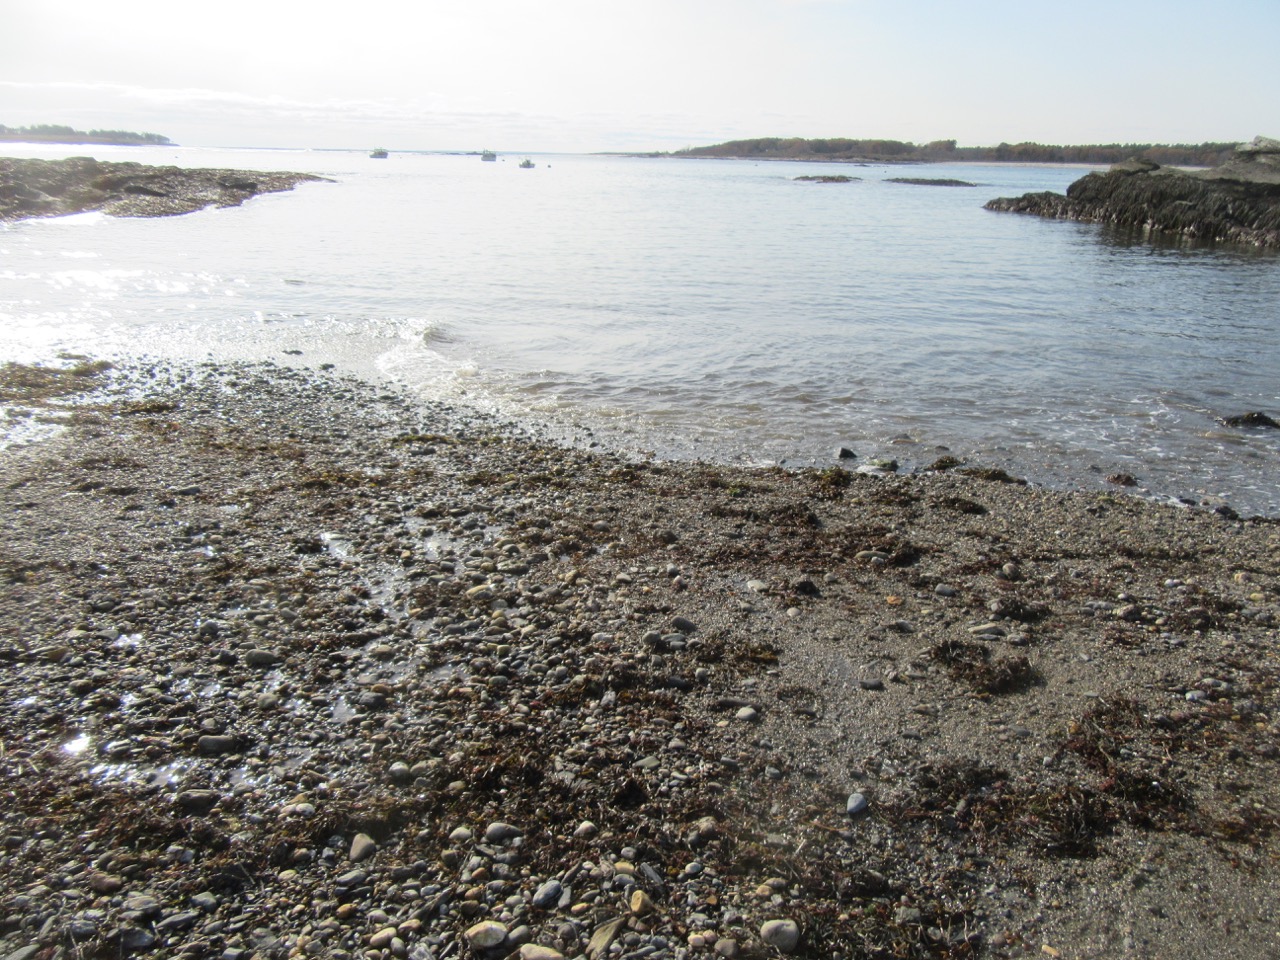
This is a form of composting in place, so you alternate layers using amendments rich in nitrogen (called “green”) or carbon (“brown”), but it also depends on what you happen to have in your yard. A basic permaculture principle is that waste is just nourishment for another part of the life cycle. So we are taking “waste” and giving it a chance to grow food next year. We have lots of leaves in our yard, so that is an important source of “brown”, and we also live within a half hour of the beach, so we use seaweed gathered at the shore as a source of “green.” I had a chance to go to Kettle Cove on Sunday to gather a bunch.

Kettle cove beach with seaweed.

Here is my list of layers from the bottom (5 inches below ground level) up, with some photos along the way:

  • soil from the site
  • rock dust: I added some handfuls of rock dust, which adds trace minerals (I had collected a bucket-full a few years ago from a local quarry.)
Rock dust over soil in raised bed.
Rock Dust over soil
  • a bit of old seaweed, collected earlier this year.
  • leaves mixed with a little bit of grass clippings, from Margy’s leaf collecting.
  • a few branches (I remembered this from my hugelkultur adventures) These are good for water retention, slow release of nutrients—I just added a few, and then buried them in the leaves—I could have done a lot more, but also didn’t want to limit the roots.
leaves, branches
  • more soil
  • After my trip to the beach, I added more fresh seaweed, a generous layer of it: seaweed is a great source for nitrogen, potassium, phosphate and magnesium, and many trace minerals. Note, I also added the second layer of cedar planks to bring it to its full height of 11 inches.
Seaweed in the raised bed.
  • more dried leaves with a little bit of grass clippings
  • composted coffee chaff (which was in a barrel we kept next to our compost bin to add after kitchen scraps: after a couple years it composted itself!)
  • more soil
  • a couple inches of composted manure: we have a pile of it from last year, but we have to sift it because it has become full of roots.
  • green cuttings from garden cleanup.
Garden cuttings over compost.
  • leaf mould from leaves left in a barrel for a couple years
  • more leaves to top it off.

And today it is complete! The rest will be done by winter, and soil creatures and time.

Advertisement

Transplanting the Mulberry Tree

One of the principles of permaculture is to observe, and then adapt.  So last year, we had planted a mulberry tree in a particular spot, but it was not doing very well, not getting enough sun. (I got fooled by the fact that it is called an understory tree–but our tall trees are at the south of our property, and this one was getting shaded by them.) So with some advice from Mihku, Margy and I found a new spot, on the other side of the back yard, and carefully measured the ten foot radius a mature tree might need. It feels like a great spot for the tree, especially since one of our goals for the tree is as a gift to the birds who might otherwise eat up our future cherries, blueberries, and peaches. This spot is next to the undeveloped land next to our yard.

Myke sorting through dirt

Sifting through soil. Photo by Margy Dowzer.

But the whole project has taken days to finish!  First, we had to deal with the ever present bittersweet whose roots run through our soil from the undeveloped edges all around.  Asian bittersweet is an incredibly invasive plant that can spread by any roots, or by its seeds.  At this time of year, there are hundreds of small plants popping up out of the grass.  Margy has been the primary bittersweet warrior for our land, going round the undeveloped edges and cutting vines and freeing trees that have been almost strangled by them.  (Some were already lost.) We don’t want to use any poison, so it’s a constant process of depriving the roots of active vines, and pulling up any new shoots. (Someday, I might reflect on the parallels between invasive plants and colonization. I certainly have been thinking about it this week.)

Bittersweet roots (tiny ones)

                                                  Bittersweet roots.

In any case, because of the bittersweet, we couldn’t just dig a hole and plant the tree–we had to dig a much bigger hole, and pull out several huge orange roots. Then we had to sift through all the soil that we’d taken from the hole, to remove any tiny orange roots. I have been doing this for so many hours that when I close my eyes I still see tiny orange bittersweet roots. I think I could identify them by feel in the dark as well. Here is what they look like when they are tiny:

For most of our yard, I’ve tried to use a no-till sheet mulching/lasagna gardening method. This is done by layering a mix of brown and green organic matter on top of the soil. So even though we had to dig a huge hole for the mulberry tree, I used the sheet mulching method as I began to fill it.  The soil was pretty barren and sandy below the top few inches, so adding organic matter would help to enrich it.  I used layers of soil, compost, dried grass, seaweed, coffee chaff, and included the broken up grasses from the sod I’d removed from the top.  Here is the hole after some layers had already been added.

Mulberry transplanting hole

The hole beginning to be filled with layers.

Myke layering the mulberry bed

Raking in another layer of soil. Photo by Margy Dowzer.

For the past week, I’ve put in a few hours each day alternately sifting soil from around the edges of the hole, adding the soil to the hole, or adding other layers of compost, dried grass, or seaweed. Margy took turns sifting soil as well. Some days it seemed like it would never be completed.

Finally, today, the last soil was sifted, and the hole was transformed into a mound. I dug a smaller hole in the center of it, and gently moved the small tree, still in dormancy from the winter.  (Last year it didn’t wake up until the end of June, so we were trying to finish before it woke up.) I tucked it in with water and more soil and more water.

Mulberry transplant

Mulberry tree transplanted!

To finish it off, I covered the mound with thick layers of newspaper (to prevent weed growth), and then wood chip mulch.  We were expecting rain in the afternoon today, and tomorrow.  It’s good weather for a big move. I offered a blessing to encourage the small tree to prosper in its new sunnier location, near the crabapple tree and the blueberry bushes. May it be so!

Myke adding wood chips to mulberry

Adding wood chips to mound. Photo by Margy Dowzer.