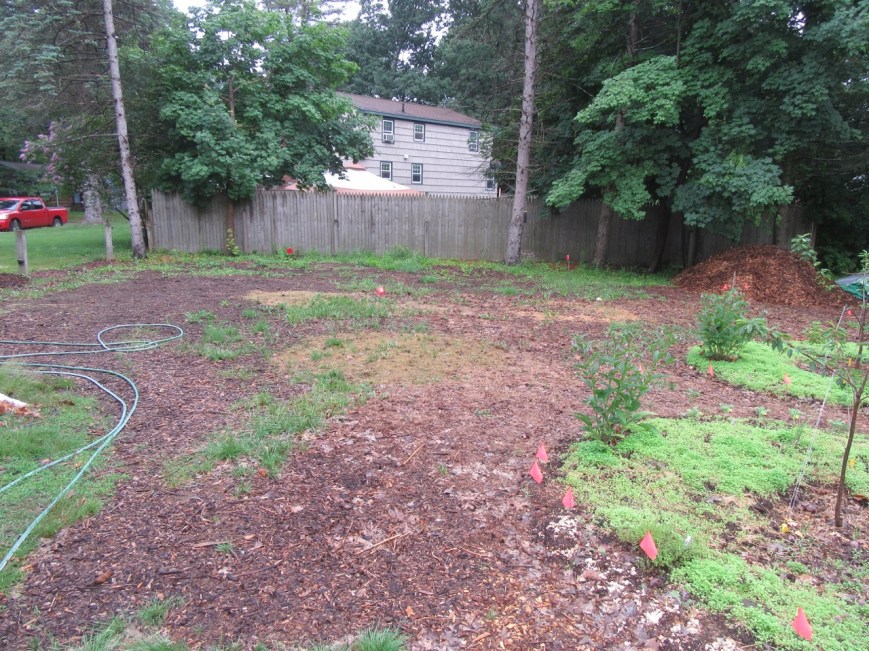
[Before–Growing beds marked with flour and flags]
On Saturday, we hosted our Permablitz! (See “more before” photos
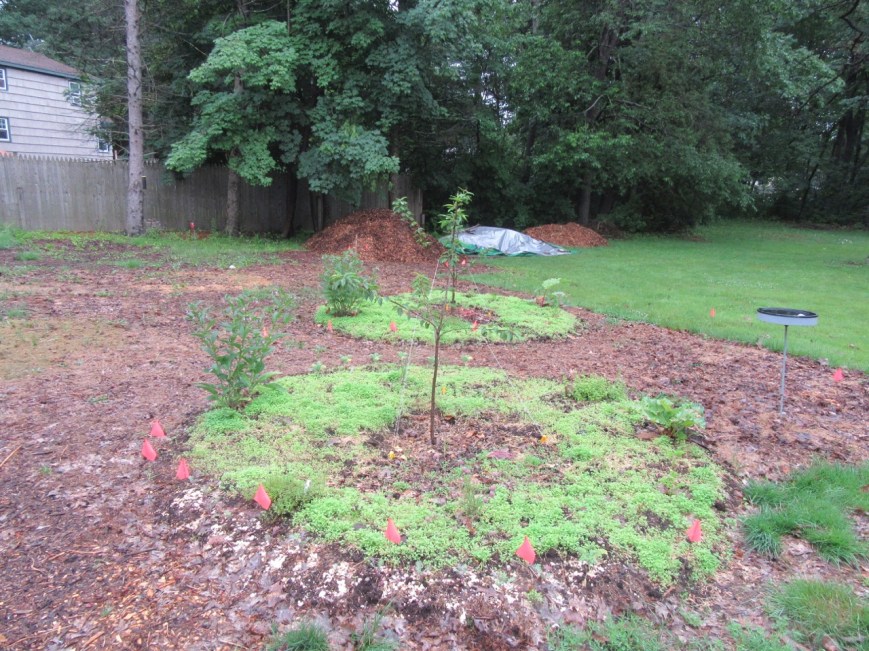
here.) Over 20 people came to our yard and worked together on projects such as installing rain barrels, building a composting system from pallets, building a fire circle, and creating five more growing beds for future fruit trees, raspberry bushes, & hazelnut bushes, and one bed for flowers & herbs. We also got the first shovelfulls dug for a pond.

[Opening Circle]
At the end of the day, I got teary-eyed with the sense of Gift. The generosity of so many individuals coming together and creating something so beautiful and full, helping us to realize our dreams for this piece of land was deeply moving. There is something about this giving and receiving of human attention and wisdom and care, that feeds our hearts. Much of our lives are shaped by transactions—we pay a certain amount of money, and receive a product. Or, we put in so many hours and receive a paycheck. But giving and receiving freely and generously touches something much deeper. Giving and receiving must trigger deep neurotransmitters in our internal chemistry, sparking a profound sense of well-being and belonging.
I also realized how many layers of community are involved in such a project. One layer is this community of people who care about the earth, and who come together to give and receive, to learn, to share, to grow, to get to know each other. People connections are made.
Another layer is the community of the soil. During the blitz I was mostly working with several others on the project for creating new growing beds. We were adding nutrients through sheet mulching so that the soil could create a thriving fertile community. I have learned so much about the variations in soil communities from the book The Holistic Orchard by Michael Phillips.
What a food forest needs, what fruit trees need, is soil whose fungal community is stronger than its bacterial community. In contrast, annual vegetables and flowers and grasses prefer soil with a stronger bacterial community. A bacterial community is enhanced by tilling the soil and incorporating organic matter by turning it into the soil. A fungal community is enhanced by no tilling, but rather adding organic matter on the top of the soil to decompose, as it happens in the forest. (Similarly, compost that is left unturned will generate a stronger fungal community.)

[Cathleen forking the soil]
We prepared the soil by aerating it with garden forks–since it had been rather compacted. We added some granite dust for mineral enhancement, then put down a layer of cardboard to kill grasses and weeds.

[Mihku & Heather adding manure and chaff]
Then, we added chicken manure, coffee chaff, seaweed, leaves, grass clippings, composted manure, and a really thick layer of deciduous wood chips. We were able to get a delivery of 8 yards of wonderful ramial deciduous wood chips–these are chips which include lots of thin branches, which have more lignin content that is not yet woody. The wood chips are the most important part of enhancing the fungal community.
We also made several pathways with cardboard and wood chips, and I will complete those bit by bit in the next days. Now, the process works on its own–I add some water or it gets rained on–and the microbes will work together over the next several months (and years) to create a thriving soil community. We will plant trees and bushes next spring. My friend Roger Paul said that the Wabanaki word for “soil” means giver of life.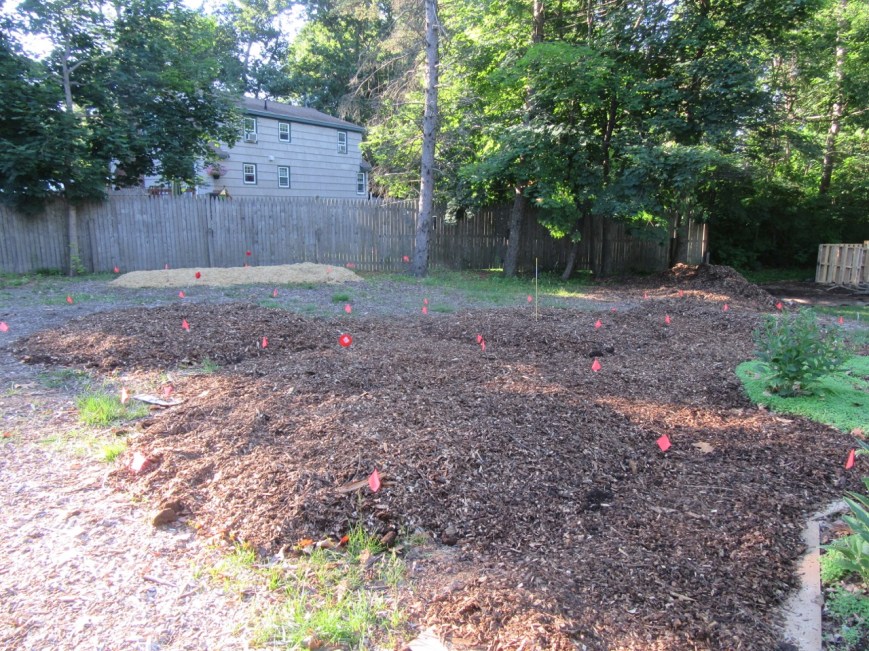

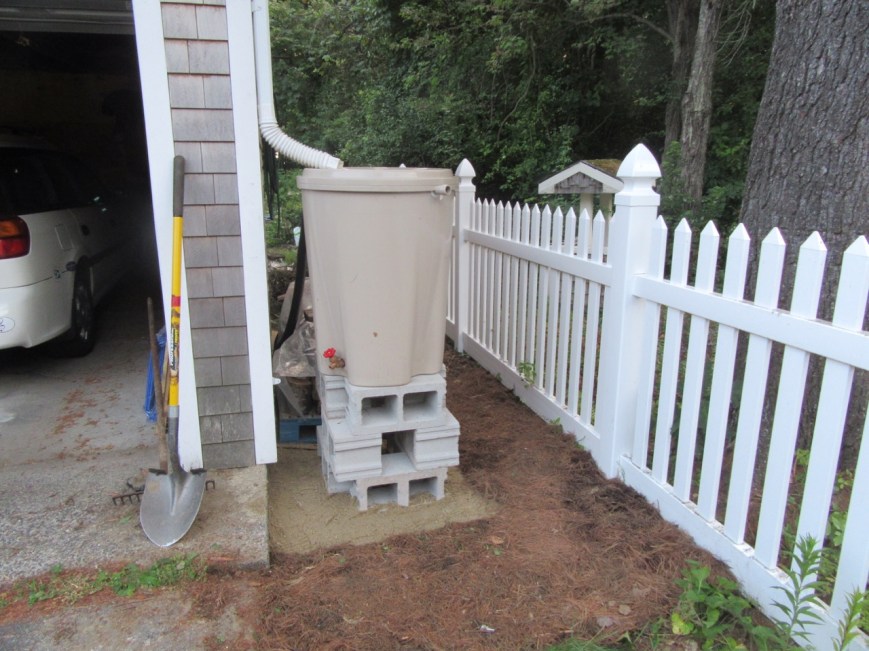
 I want to post about the learning session that Dave led on the 23rd to finish our rain barrels and teach a few of us more about how to install rain barrels. I will talk today about how to attach the barrels to the downspouts of our gutters. Once the rain barrels themselves are positioned, you can measure and mark the downspout about 8 to 12″ above the top of the barrel.


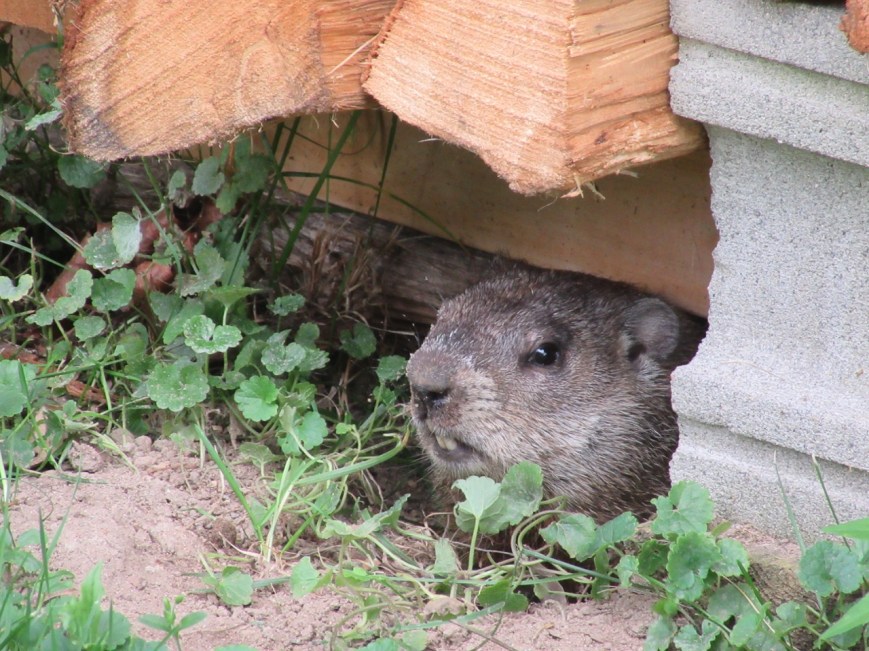
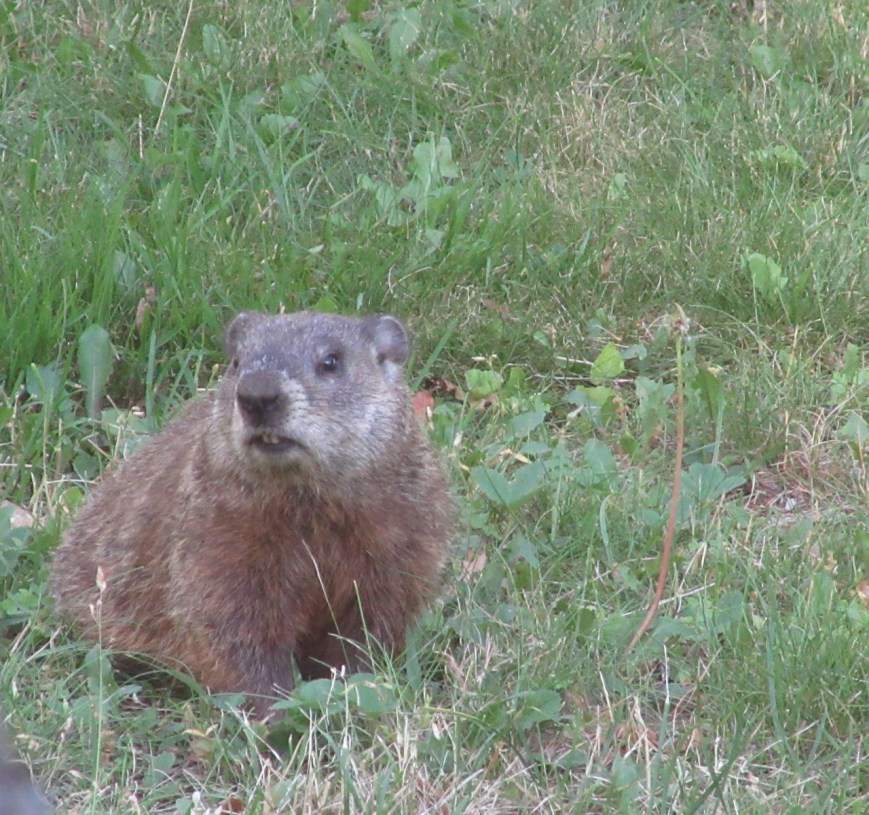
 I had a revelation! I have been thinking I was having a tug of war with a groundhog, because despite the fact that I had been using a very potent deterrent liquid, each morning I would discover this mess around my cherry tree beds. But no more
 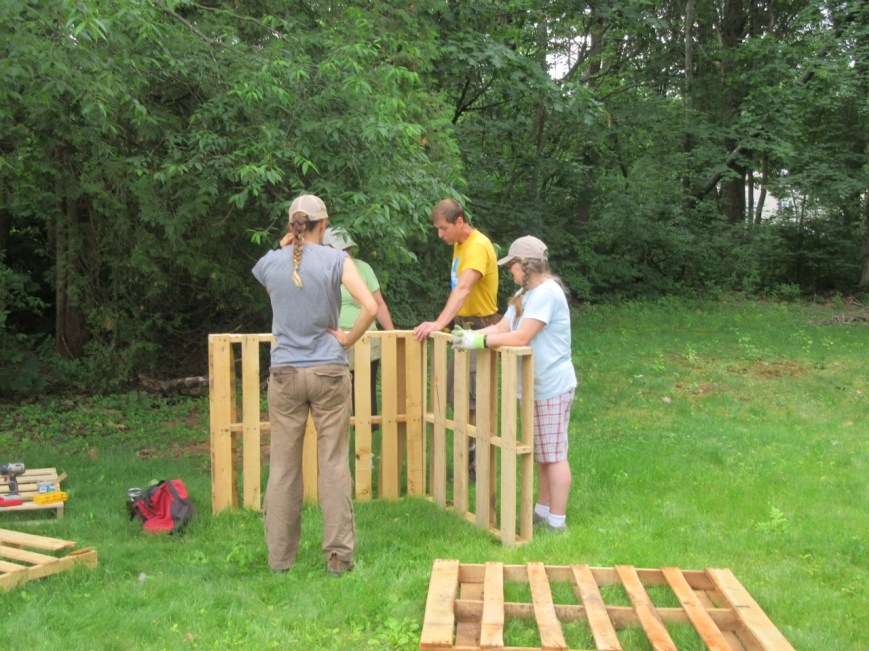 One more post about the
 Coming back to the Permablitz of June 24, another project that was completed that day was a fire circle. As Lisa Fernandes said, every home needs a place to burn things. So she was our team leader for the fire circle, and gathered in the layers of community for the element of fire. With a community of workers!
 First they had to remove big pile of bittersweet brush (that we will eventually burn) from the spot we had chosen. Lisa and Kristen gathered together the stone blocks that would be used. (But there could have been other helpers–at that moment I was over in the garden beds.) Then they prepared the ground with a layer of sand. Our youngest permablitz members got into the sand-tamping process, as well as Lisa and Kristen.
 Finally, they brought a whole pile of pine mulch for the seating area around it, and then laid some bittersweet brush and pine cones for our first fire. Permaculture is not just about a way of gardening but also about how communities care for each other. Its three principles have been summed up as earth care, people care, and future care. So having a place to gather with others is an integral part of our permaculture design.
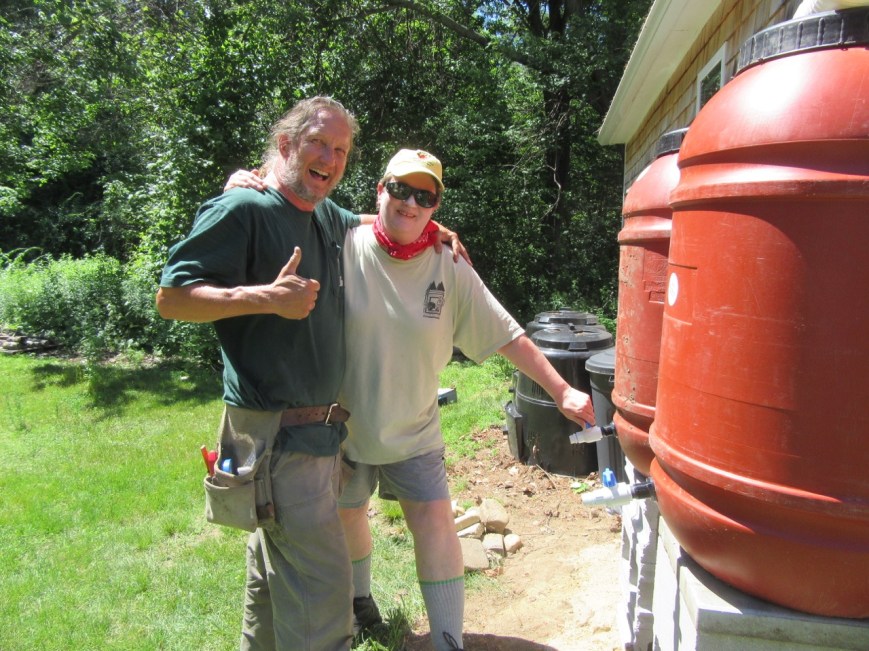


 With all that done, the barrels could be positioned on the concrete blocks. Then, the downspouts were cut short, and a curvy connector was attached to bring the water to the barrel.
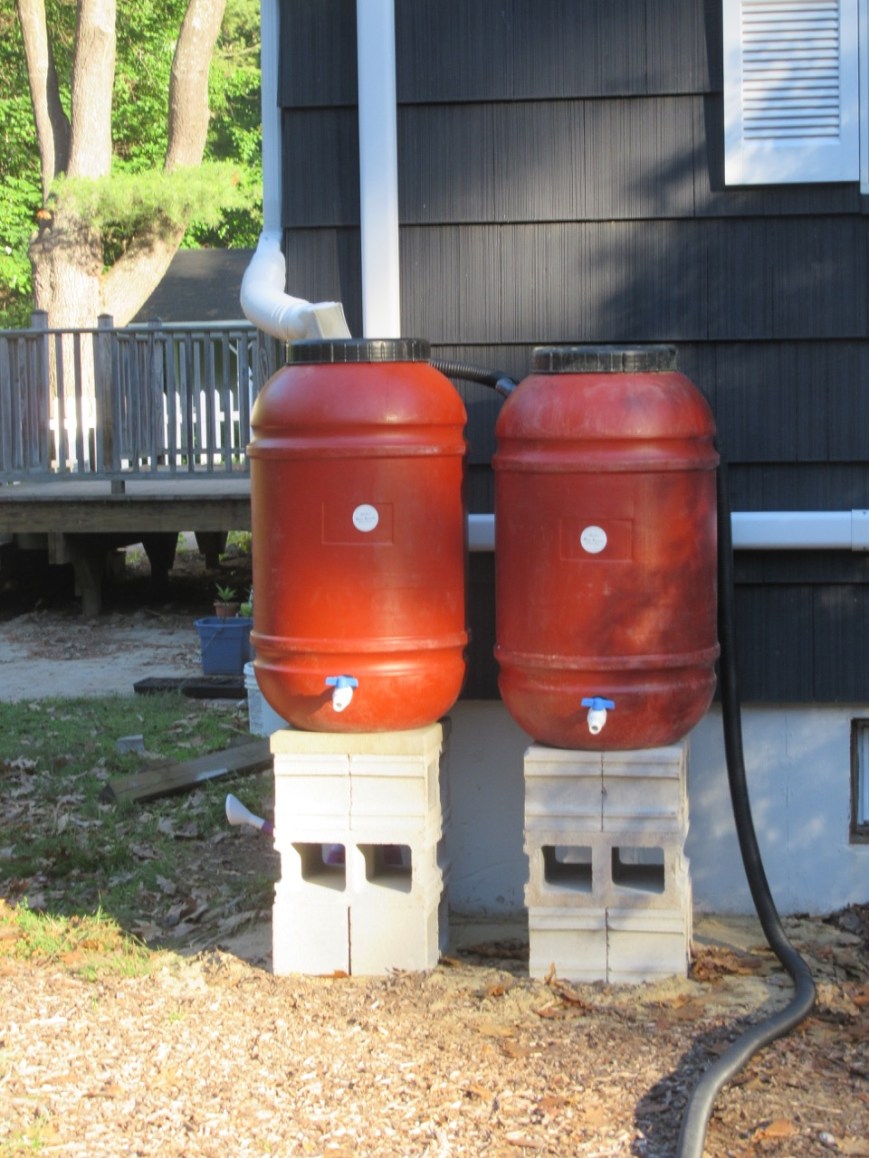
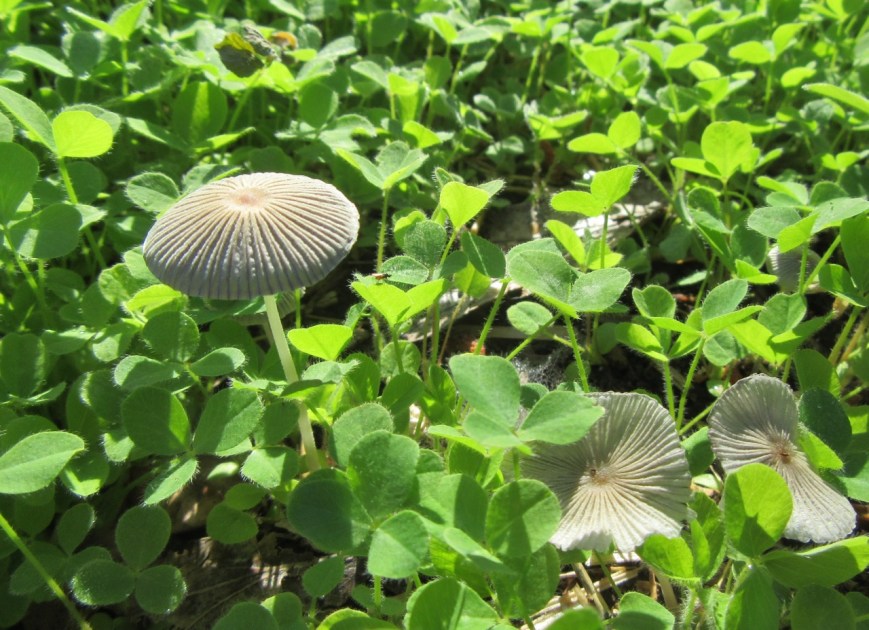 Our efforts to enhance the fungal community in our yard are suddenly materializing in mushrooms popping up in the cherry tree circle beds. (Or at least it seems that these efforts are linked.) These came up on my birthday, and then had disappeared by the next day, to be followed by another variety altogether.
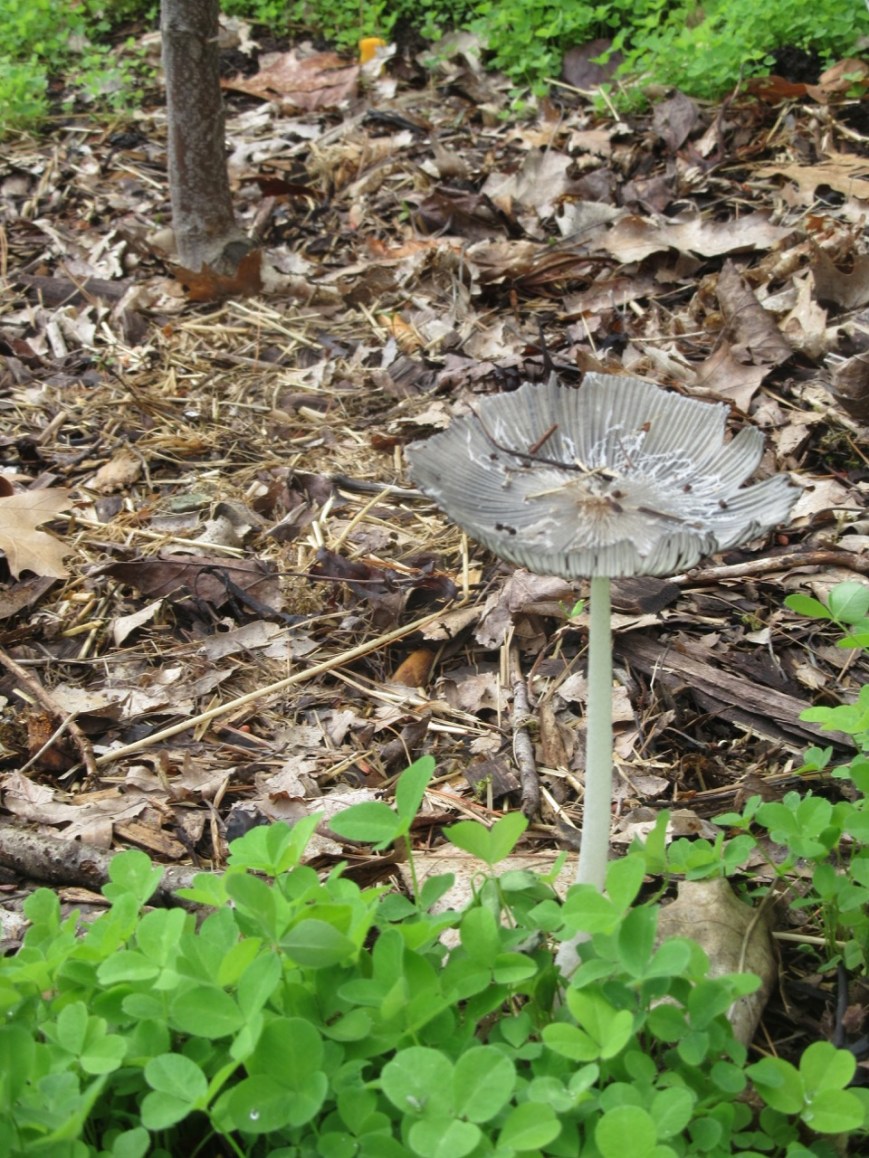 I don’t know mushrooms well enough to identify–is anyone more familiar with these than I am who might give them names?