Pond, next steps

Photo: Cutting old donated carpet in 2 feet+ strips

I had a slow start today. I haven’t talked much lately about living with chronic illness, but for some reason I’ve been feeling much better energy than usual this spring. Still, I have a method for energy use: First of all, I rest when I need to. But what seems to work with garden projects is that I exert myself for a short while–say 10 minutes, or one wheelbarrow load. And then I sit and rest for 10 minutes. I don’t time myself, that is just a guess. I stop when I need to and rest until I can start again. While resting, I drink some iced licorice-root tea–that is a big help. I make a big batch of the tea (boiling licorice root for 15 minutes), and cool it to keep in jars in the fridge. Then I put together a big plastic glass (with a cover to take outside) adding ice and some lemon juice. Licorice root is said to be good for adrenal glands, so maybe this is why it has been so good for my energy.

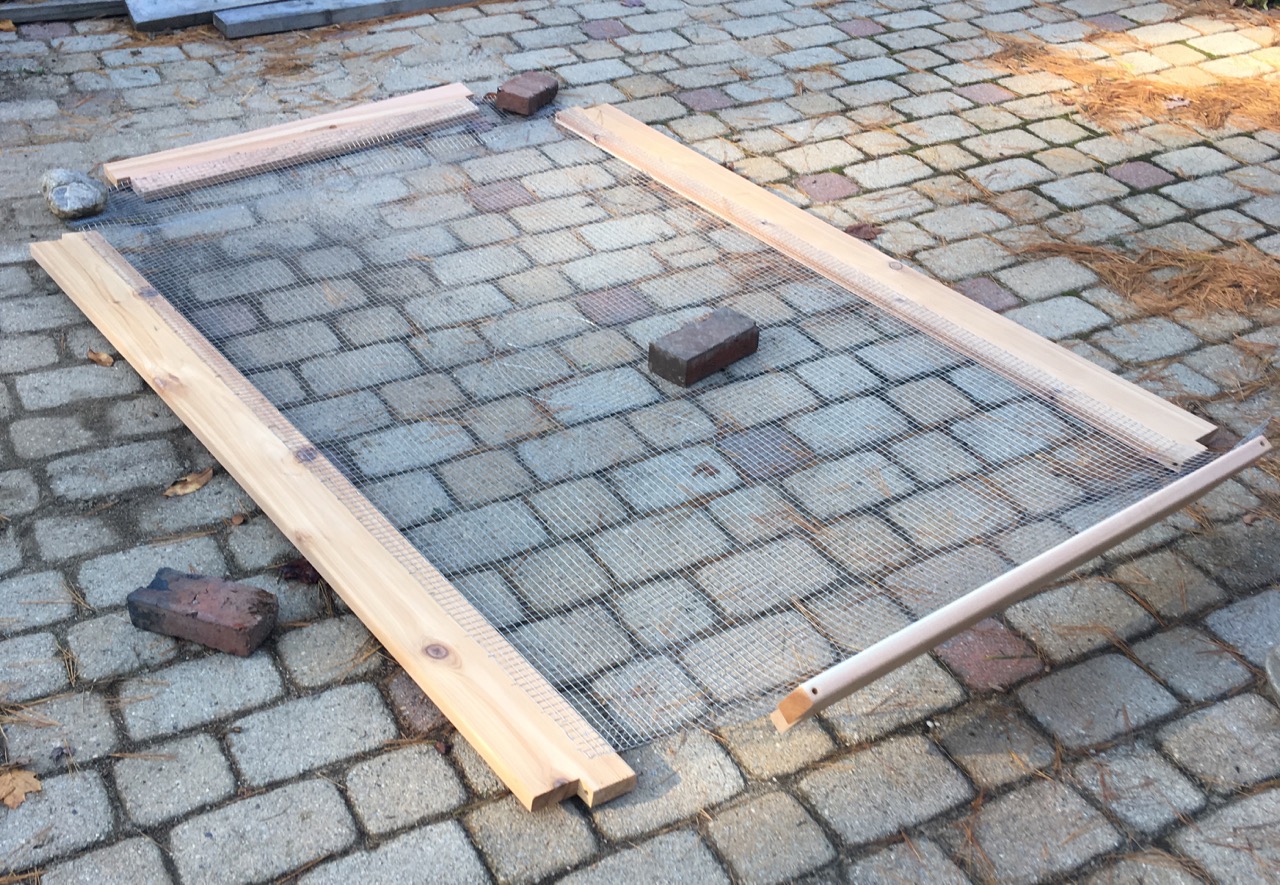
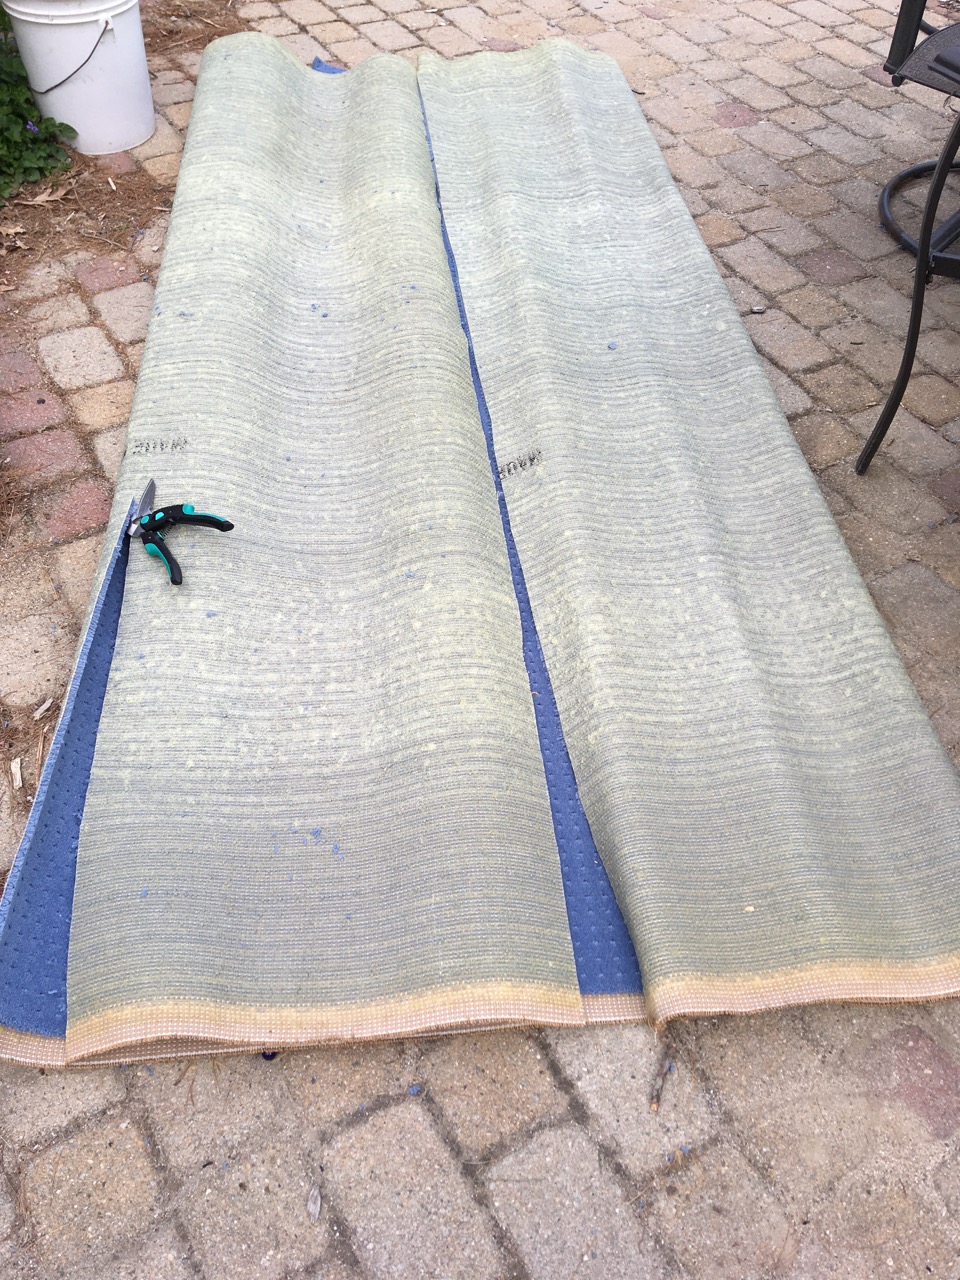
But for example, this afternoon about 3 p.m., after my slow start, I was able to make my way outside. I started on the next step for the pond–cutting the old carpet (that I collected for free) into strips about 2 feet wide. I started with the biggest carpet piece I had received. Margy bought me a really good pair of carpet cutting scissors. Oh my gosh–they are so sharp and nice and easy to use. So I cut one 8 foot (?) strip, and then I rested. Then I cut another one. It went like that. After I had finished cutting that carpet piece into about 8 strips, I decided to see how it might lay on the pond surface.

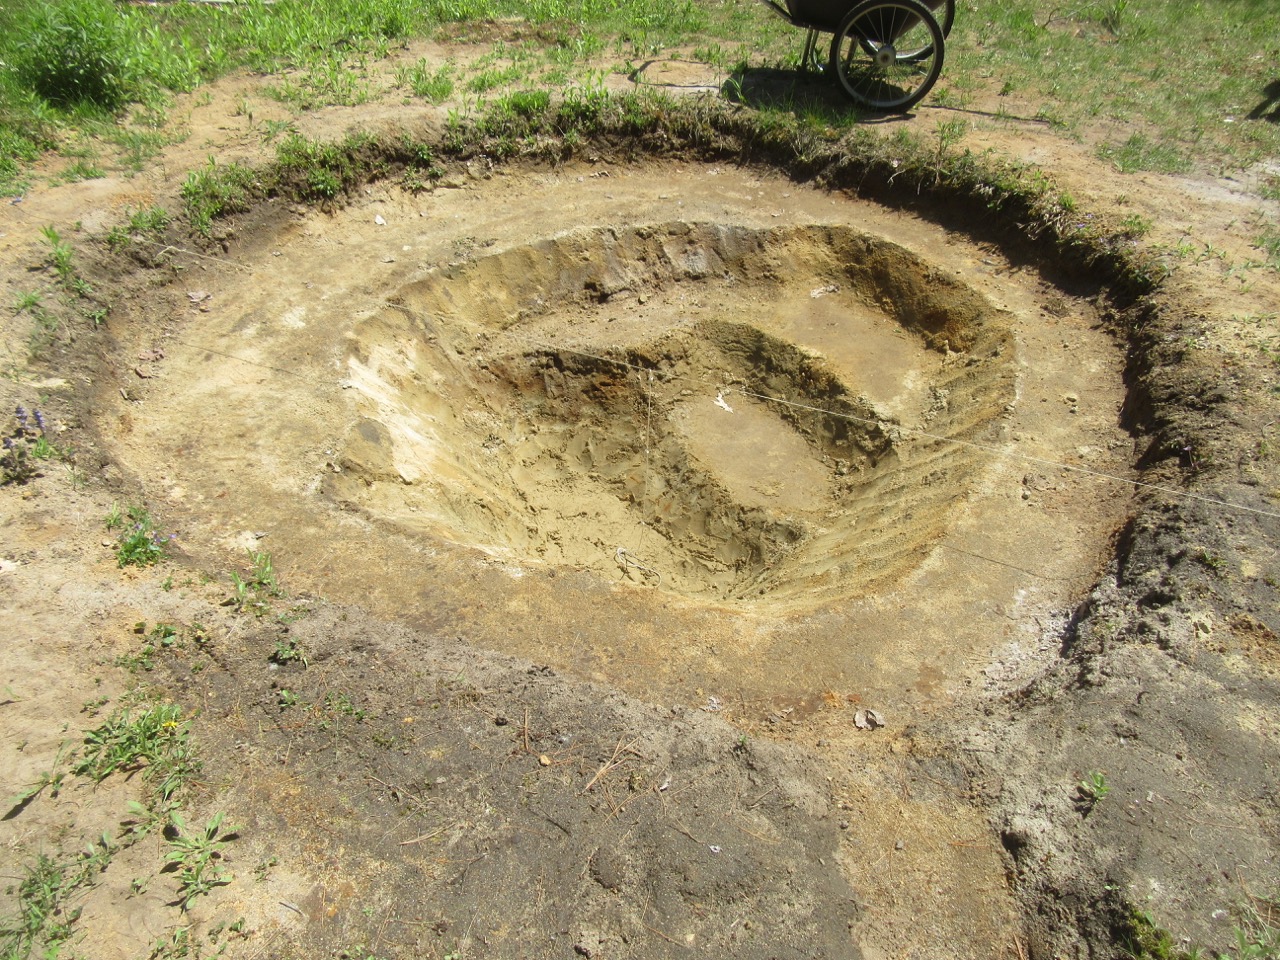
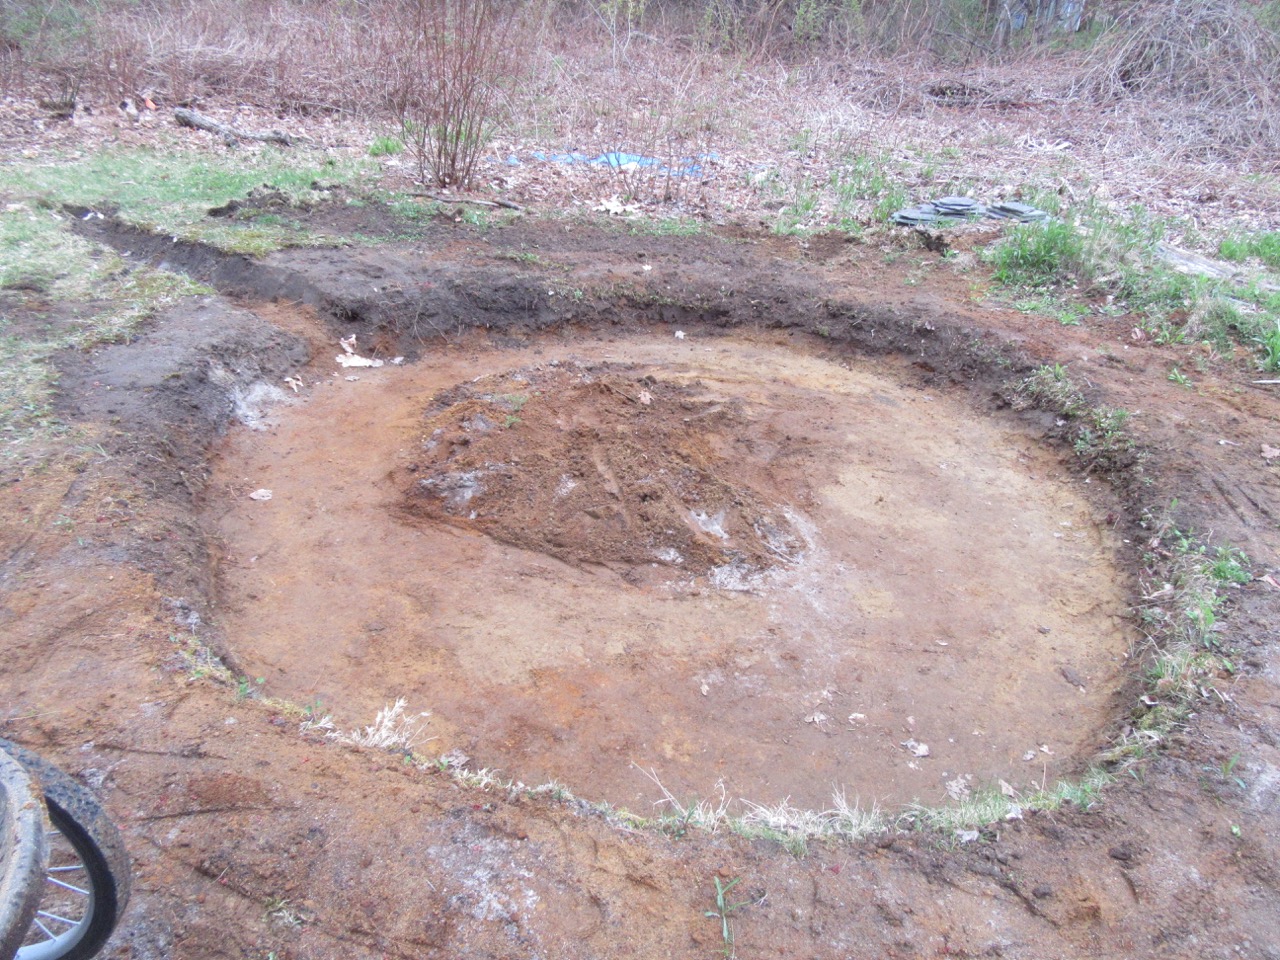
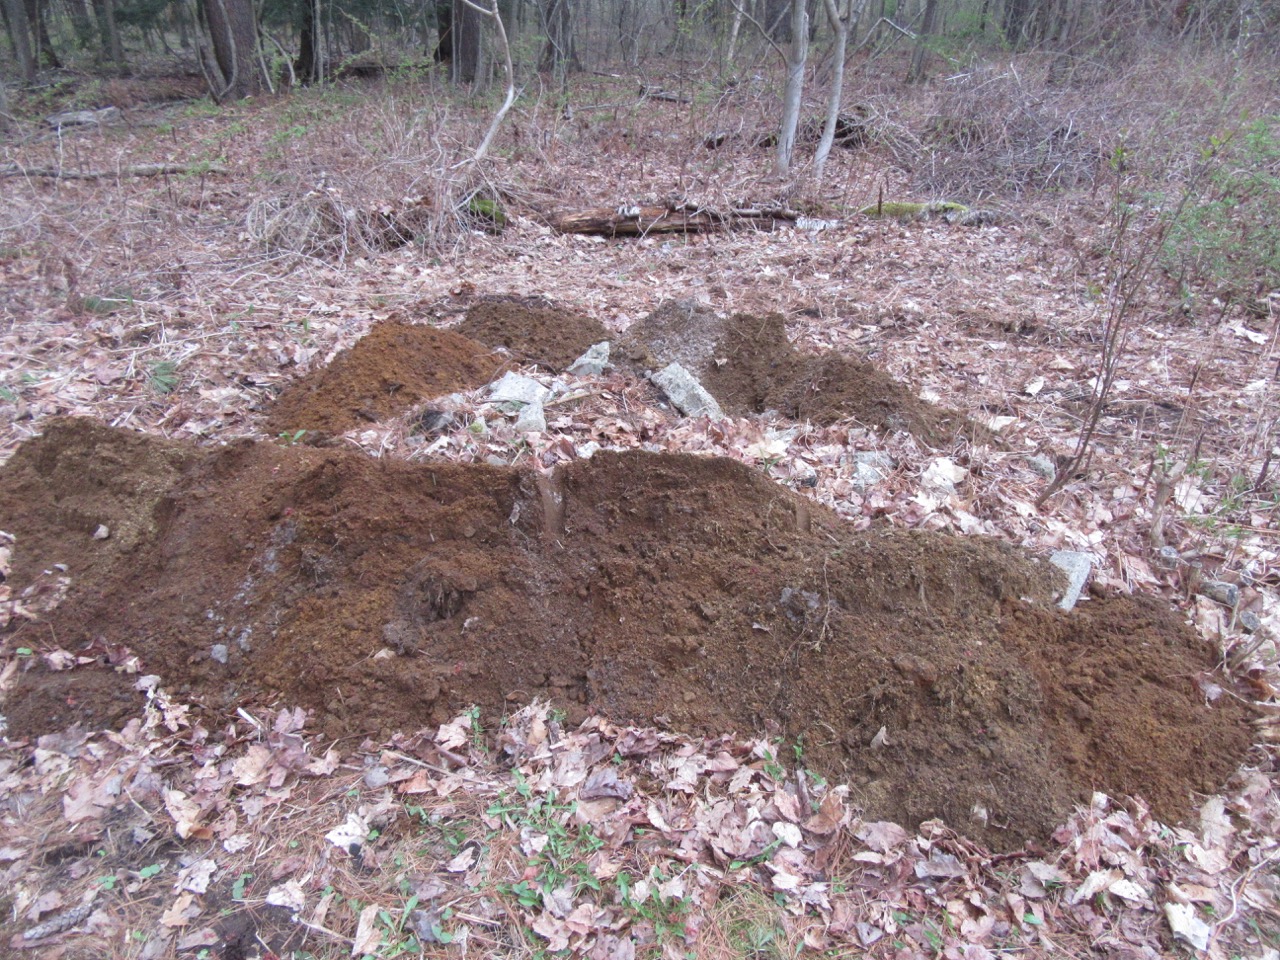
But then I had another thought while experimenting. Since the pond is no longer going to be 3 feet deep, but rather about 2 1/2 feet, and since I have a pond liner that is 20 by 20, why not make it a bit wider at the top. (Since the equation for the pond liner size takes into account depth and width and length.) So instead of 11 by 11 1/2, just add a bit more on the half that has a one foot planting shelf, let the pond be closer to 12 by 12, and the planting shelf be a bit wider too. So I started digging again around the top edge. And then I remembered the advice to make a sloping “beach” edge for small critters to be able to get in. So I did some of that. Again, bit by bit.

While doing this further digging, I again saw more bright orange bittersweet roots. This is the biggest reason why we are using carpet strips as an underlayment. Some folks like sand better, but we need something that can stop the roots from puncturing the pond liner.

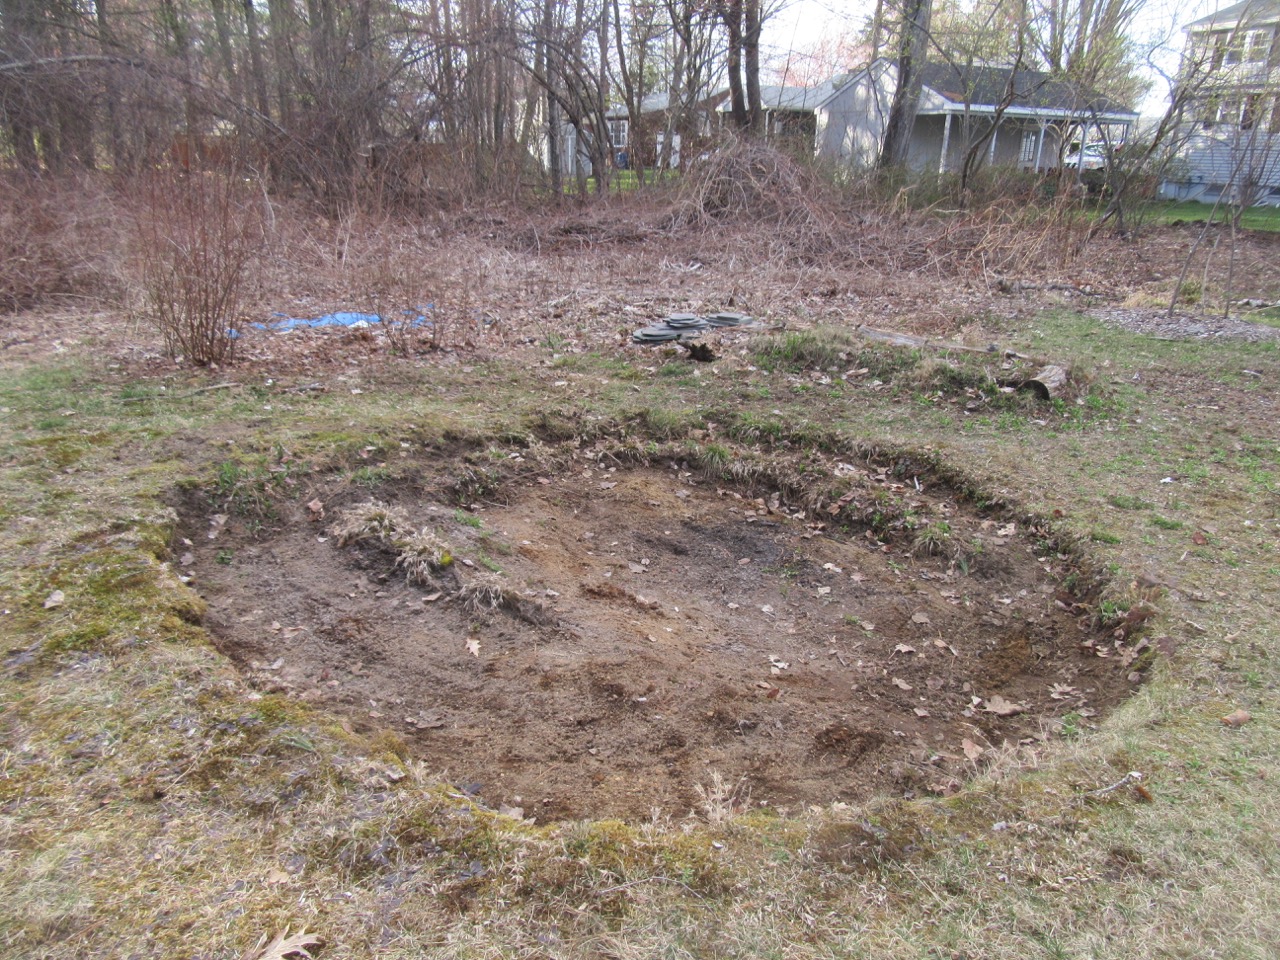
So the next photo is what it looked like when I called it a day. I was lying in the hammock a bit, resting, and then when I got up I could barely move. That is the other part of this process. I get really exhausted and sore all over. So I came in and took a hot shower, and then took two aspirin, which lately always seems to help. I’ll be down for the evening, but tomorrow, probably ready to start again. Unless I am not. I am sharing all these details to say that I am so grateful I am able to do this outside work, in this rhythm of work and rest. And also, maybe it might be a helpful suggestion for others who don’t have stamina for whatever reason. Work and rest, work and rest, in little segments. It has been a good day.

Photo: the pond, which is wider now (on the left and foreground), with blue carpet strips covering the “beach” area, and going down to the bottom.
Advertisement

Pond Dig, part 4

Photo: Pond, fully dug, with four levels and a measuring line across

Hurray! I’ve been back to digging the pond the last couple days, and today I finished the bottom layer! I hit clay soil at about 2 1/2 feet down, and went a little deeper in one spot. For those who were wondering about the water that showed up in the bottom, I learned, after consulting other folks, that it’s probably not really a bit deal. It might possibly lift the liner in the spring a small amount, but on the other hand, the water in the pond might have enough weight to counter that. In any case, over the last several days of not much rain, there is no standing water, though the soil I’ve dug out has been damp.

So I ended up with four levels: first level all around the edge for planting (at about 10 inches down), second for a step, plus another spot to plant pond lilies, third another step down, and fourth the very bottom. The bottom is about 2 ft. 10 inches feet deep, though more like 2 1/2 feet from the top of the water once filled, since there is an overflow channel about 4 inches down from the top. I decided to let the clay soil be my guide for stopping at that depth. The very thin white line you can see across the pond is my measuring-depth-device–a string anchored in the ground at each side, and then another string looped onto it, marked with knots at each foot, and weighted so it hangs down.

It has been a lot of hard work to do the final levels, because each damp shovel-full had to be carried up the steps to the top step to put it in the wheelbarrow. And then, when I wheeled it all to the mound where it was going, I had to shovel it onto the mound. (Eventually I will add compost to the mound, and plant some sort of ground cover.)

Photo: Mound where I put the dirt, to cover old demolition waste, then put cardboard on top, then more pond soil.

The next step will be to cut old carpet into strips, to layer over the ground to keep roots from coming through, and to protect the pond liner. And surprisingly, there were small bittersweet roots all the way down to the bottom level. I have a pile of old carpet that I collected from willing volunteers (via Freecycle and Buy Nothing) last week, that is sitting on the patio, waiting for me.

But for now, I am coming inside to rest, with sore muscles but a happy heart. It has been so satisfying to be digging down into the beautiful earth, imagining a place for water.

The Little Pond

In our permaculture design for our land from 2017, we included a little pond, about 11 by 12 feet round. Every so often, I would dig in it a bit, and find a place to put that soil. Finding a spot for what is dug up is actually a major issue in digging a pond. Some of the topsoil made its way into what is now a bed for blueberries. But mostly, I didn’t have the energy to take on another big project.

The future pond, as it looked with what I dug out before this year.

However, this spring I felt a burst of energy each time I went into the yard, and I felt the future pond calling to me! So I read once again Robert Pavlis’s book Building Natural Ponds, and made a list of everything I would need. I talked it over with Margy. The biggest expense is buying a pond liner, recommended 45 mil EPDM rubber. For our size pond, with the deepest part 3 feet deep, we’d need a 20 by 20 foot liner. (Formula: width plus 2x depth plus 2 feet for edge, times length plus 2x depth plus 2 feet.) Other needs include old carpet strips to lay over the ground under the liner, to protect against roots and rocks–and we’ve got bittersweet roots, so this might be essential. It will need lots of stones to line the planting shelves and the edges, and then a number of pond plants, to serve to clean the water, and of course to look beautiful. This kind of natural pond does not have any mechanical filters–just plants. So 1/2 to 1/3 of the pond is made up of planting “shelves” that are only about 8-12 inches deep.

Why include a pond? One reason is that it brings more water into the landscape. For some sites, ponds are a way to store water, but that won’t be as big a need for our site. We have rain barrels for that. We can use water from the rain barrels to fill the pond, and refill as needed. For us, a pond will mostly be for wildlife, like frogs and birds. We are told that if you build it, the frogs will come. And for us, another reason is to be able to look at the beauty of the water and water plants, when we are sitting in the yard. What a good reminder of the sacredness of water.

The biggest amount of work to make the pond is the digging. But we finally figured out a place to put the dirt. In the back corner of our yard, some former resident dumped a pile of concrete and metal demolition junk. We’d thought about trying to haul it away, but that would be a huge job, and cost money to take away. Most years, it has been covered with wild raspberries that don’t bear any fruit because it is too shady. This spring, I pulled out much of the raspberries and some invasives, and got a good look at the junk underneath. Concrete, metal, demolition debris.

Old demolition debris in the back of the yard.

So this is where we will put the sandy under-soil I dig from the pond. Then I’ll put cardboard over the resulting mound (to rein in the invasives), put down some compost and other soil on top of the cardboard, and then plant some shade loving plants on the mound. Another project.

A few days ago, I started an overflow spillway, an area on the edge of the pond that is 4 inches lower, so if the pond gets too full, the water has a place to go. I figured out, from the book, that it didn’t have to go very far, maybe 8 feet away or so, where the water could sink into our sandy soil. Then, the last few days, I have been slowly digging out the first layer, to the depth of the planting shelves. Here is how much I was able to finish by today.

It’s hard to tell that the depth of the pond is now about 1 foot, except for the part in the center that I didn’t finish to that level yet.

I shovel out the dirt into a wheelbarrow, using a level to try to keep the pond surface level–which will be important–then I bring that dirt over to the demolition pile, and dump it there. It doesn’t actually look like that much, but I hauled away several wheelbarrows full just in the last couple days. I don’t know what the former residents did with this part of the yard, but it seems like there are some ashes and charcoal buried in the future pond, along with a very rusty sandy soil. Oh, and here is what the junk corner looks like now.

Junk pile beginning to disappear under dirt piles.

So, yesterday, I ordered a pond liner. I was able to find a liner, with an underlayer, for $438. I also posted on “buy nothing” and “freecycle” pages requesting old carpet strips. I’ll keep you updated. This is going to happen!

Raised Garden Bed, Part 1

I have to laugh at myself. After hardly having enough energy to keep up with the garden all summer, I took on the idea of creating a new raised bed. It was a 3′ by 6′ by 11″ kit with eight planks of cedar and 4 metal poles to insert in holes at the corners, but I bravely decided to add hardware cloth underneath to protect against little tunneling creatures. (And on that note, I managed to catch a glimpse of a tunneler in the act–turns out to be a tiny star-nosed mole. It seems to especially like to burrow under our wood chip paths. But apparently they are not huge hazards to the garden, so that is good to know. They eat grubs and other insects, not roots.)

So everything arrived–kit, hardware cloth, staple gun, staples–and I started to figure out how to be able to assemble the 4 foot wide hardware cloth to the boards so it would go 5 or 6 inches into the ground to make room for deeper roots. After a lot of math, several scratches on my hands, and many staples, step one complete:

Hardware cloth stapled to cedar planks.

Margy helped me move the whole thing over to the 3 by 6 hole that I had dug earlier.

Hole dug in ground with dirt in two wheelbarrow on either end.
Hardware cloth and planks over hole.

I assembled the bed by bending in the corners of the hardware cloth so that the ends of the planks met, and then I secured the planks with the metal poles. But it didn’t fit into the hole I had dug–the hole was too shallow. So I tilted the whole assembly over to stand on its side, while I did more digging, piling the extra dirt on a piece of cardboard on the side.

Cedar planks and hardware cloth assembled and on its side next to hole

I repeated this step several times until finally everything fit. Hurray! I added the dirt from the cardboard into the cedar bed, and called it enough for one day. I still have to add the second tier of cedar planks, and all the contents–but that can be a new post.

Cedar bed in/on the ground

Meanwhile, somewhere in the middle of it all, I was happy to take time to collapse in the hammock with Margy. I am sore and exhausted, but it was a good day.

Two pairs of feet side by side in the hammock.