A Nest in the Peach Tree

Photo: a nest in the branches of the peach tree, surrounded by leaves mottled with kaolin clay

Life is getting exciting in the orchard. The other day, a friend noticed an empty nest in the branches of the peach tree. It must have just appeared that day–the Summer Solstice–because I had been spraying the tree a couple days before with an herbal foliar spray and would have noticed it. But it seemed like it might be abandoned, and I wondered if perhaps its creators had noticed the toy snake I had hung from the tree the day before to warn off squirrels.

Today, I began to wrap and tie little woven net bags around the peaches–another strategy to keep them protected from burrowing bugs and poking birds and of course, squirrels. This year, I am trying all the things!

Photo: Peach tree, somewhat whitened by kaolin clay, with net bags around some peaches.

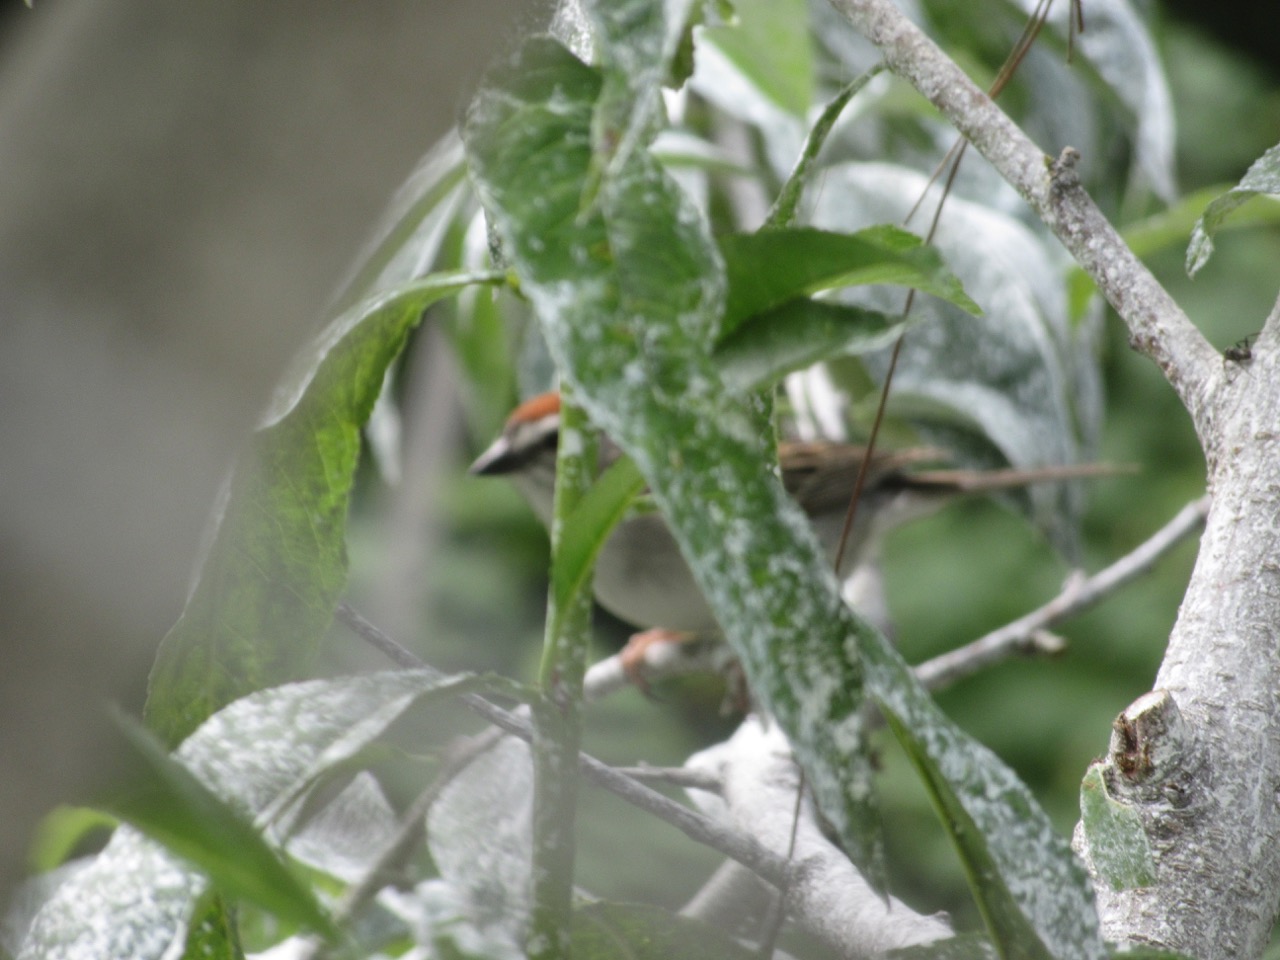
While I was slowly adding a few more bags, this little sparrow was chirping in the next tree over, as if she were trying to get my attention. (Later, I did some research, and she seems to be a native chipping sparrow.)

Photo: chipping sparrow behind leaves

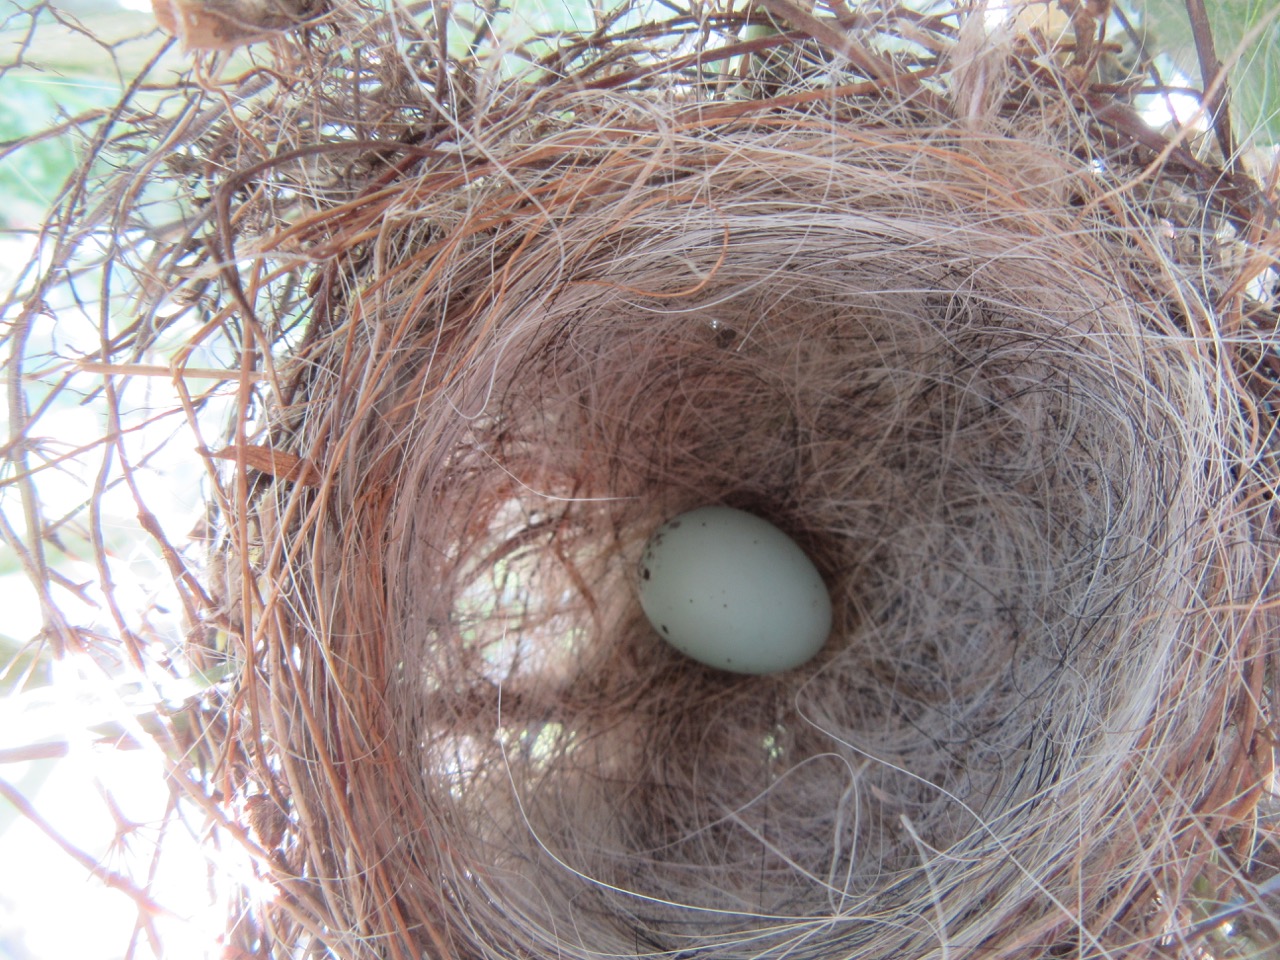
Curious, I carefully put my finger into the nest (which had been empty the day before) and ever so gently touched the smooth shell of an egg. Holding my camera above the nest, I confirmed it.

Photo: one light blue egg with spots inside a nest

Of course, this left me with a dilemma. Do I pay attention to protecting the peaches? Or do I take care not to disturb the chipping sparrow and its nest? Hoping to do a bit of both, I kept putting more net bags around the peaches, but only on the side of the tree away from the nest.

With the bags around the peaches, I won’t need to spray the tree again with kaolin clay, and that seems like a good idea as far as the nest is concerned. These net bags require quite a labor intensive process though. The design of the bags could have been better. I decided to make a small cut in the top of each bag, on the opposite side of where the drawstring tie comes out, so I can pull the tie string out from two sides. That way I can secure it across the branch closest to the peach. (Otherwise, if I just tied it around the stem, I am afraid it would pull the delicate peach right off the branch.) So bit by bit I added perhaps 15 to 20 bags on peaches. I have many more to go.

And then I saw that the sparrow had returned to her nest. Maybe to lay more eggs? Maybe to keep one or more eggs nice and warm until they hatch. I read that it takes two weeks for the eggs to hatch, then 9-12 days for the young to fledge. I think we’ve reached a truce. I hope so.

Photo: head of sparrow is just visible over nest, behind bright green leaves

Advertisement

Pond Reflections-Next Steps

Photo: Adding water again, stones in planting ledge done. Isn’t it beautiful to see the reflection of the trees in the water?

This morning and this evening I finished adding stones to the planting ledge of our pond. And this evening, I began the second half of filling the pond, using water from our rain barrels! While I watched the water flow in, I used a pond skimmer to try to clear some of the debris that has fallen in–maple seeds, pollen, pine needles. I hope tomorrow I can finish filling it, and start to put in plants. Some plants have already arrived, I have them waiting in a bucket of water.

It was a really hot day today for Maine (88 degrees), and earlier in the morning, I mostly watered my vegetables and tended the fruit trees. I have spent so much energy on the pond, and I didn’t want to neglect the other parts of the garden. I checked on the cherry trees, thinned tiny peaches from the peach tree, and did a kaolin clay spray on both. Yesterday I had cut off some leaves on the cherry that were infected by black cherry aphids. I left a few, especially if I saw ladybugs near them. Ladybugs lay eggs, and when their larvae hatch, they eat the aphids. In this photo, the curled leaves have the aphids hiding inside. But see how bright the ladybug eggs are!

Photo: bright orange ladybug eggs

The next two days are predicted to hit 90–so there will only be a few hours in the morning and evening that I can bear to be outside. That seems to be our new rhythm here. Planting will be so much fun–updates later!

“Ghost” Trees

Peach (in front) and cherry trees treated with Kaolin clay.

Yesterday, I prepared a mix of kaolin clay and water, and sprayed all the branches of the peach and cherry trees in our little orchard. This is an organic solution to curculio insect pests, among some others. Now they are totally white and look like ghost trees. The leaf buds are starting to open on the cherries, and flowers will be here soon. Last year, our peach tree produced many peaches, but they were almost all destroyed by pest bugs. We got to eat two peaches. (They were delicious by the way.) We had somehow assumed that it might take at least a year for bugs to find them, but bugs are smart. So it was a useful lesson in observation. But this year, we hope to actually eat some peaches.

I have been committed to figuring out how to protect them organically. This spring I started reading once again The Holistic Orchard by Michael Phillips, which has been my guide during my fruit-tree food forest adventure. Each spring I forget what I did the prior year, having only a few trees and a few times to do any part of this project. This time reading, a few more ideas stuck further into my brain, and I found a few new ideas too. First of all, which I didn’t forget, was to try to make sure they have all the nutrients they need in the soil. Phillips had a section about how to interpret soil tests, and last fall, Margy did a soil test for the peach tree bed. Since the fall, I have added more compost, seaweed, some rock dust and green sand which are all long-term nutrient boosters. I also ordered some potassium sulfate of potash because the soil test said the soil was low in potassium, and some alfalfa meal to add some extra nitrogen which was also low. I will add those once the trees are more in flower.

In prior years, I have done the holistic sprays that Phillips recommends, and now I am trying to create my own timeline for which ones come when, so that I don’t have to figure it out each time all over again. I love this book, but it is not well organized for beginning orchardists. Vital information is scattered across various parts of its 400 pages. It is the book of someone who knows way too much about all aspects of orchards for a beginner to have much of a chance. His primary focus has been apples, and other fruits each have their own sections. Still–re-reading it each year seems a good way to go.

I do have to laugh though, because I found the key piece of information I needed for my peach and cherry trees only in a footnote–a footnote! And that footnote said: “Massively coating stone fruits [cherry and peach are stone fruits] with multiple applications of refined kaolin clay for curculio is less than ideal once fruit begins sizing in earnest. Cherries bloom before apples, and with far less leaf showing initially. Surround [brand name of kaolin clay] applied at this critical juncture on the just-about-to-pop flower buds delivers a message to this pest to move onward to other prospects. Curculio makes its way by crawling, particularly early on when temperatures tend to be cooler. The main route to developing fruit is by way of the limb highway, and thus the reason for thorough coverage on the branch structure of the tree. Two applications going into bloom will do the trick in a warm spring, with an additional application as soon as petal fall begins probably necessary in a cooler season.

See what I mean? But yesterday, as the buds on the cherry were just starting to open, I sprayed it with kaolin clay, and then I repeated it once that had dried. Now they are white, and I hope they are protected for now.

It was lovely to be outside. In between applications I did some raking and some lying in the hammock, and eating my lunch under the patio umbrella. What a great way to celebrate Earth week.