

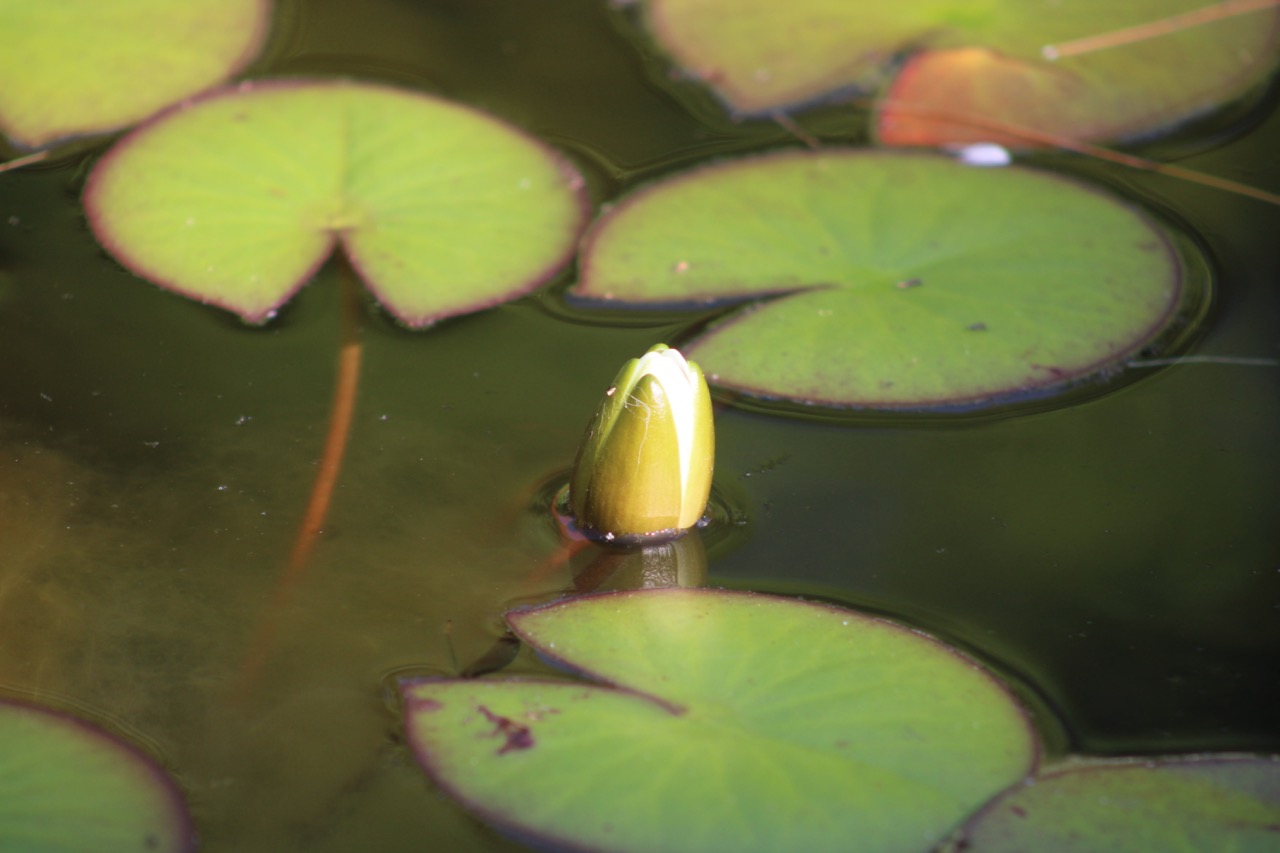
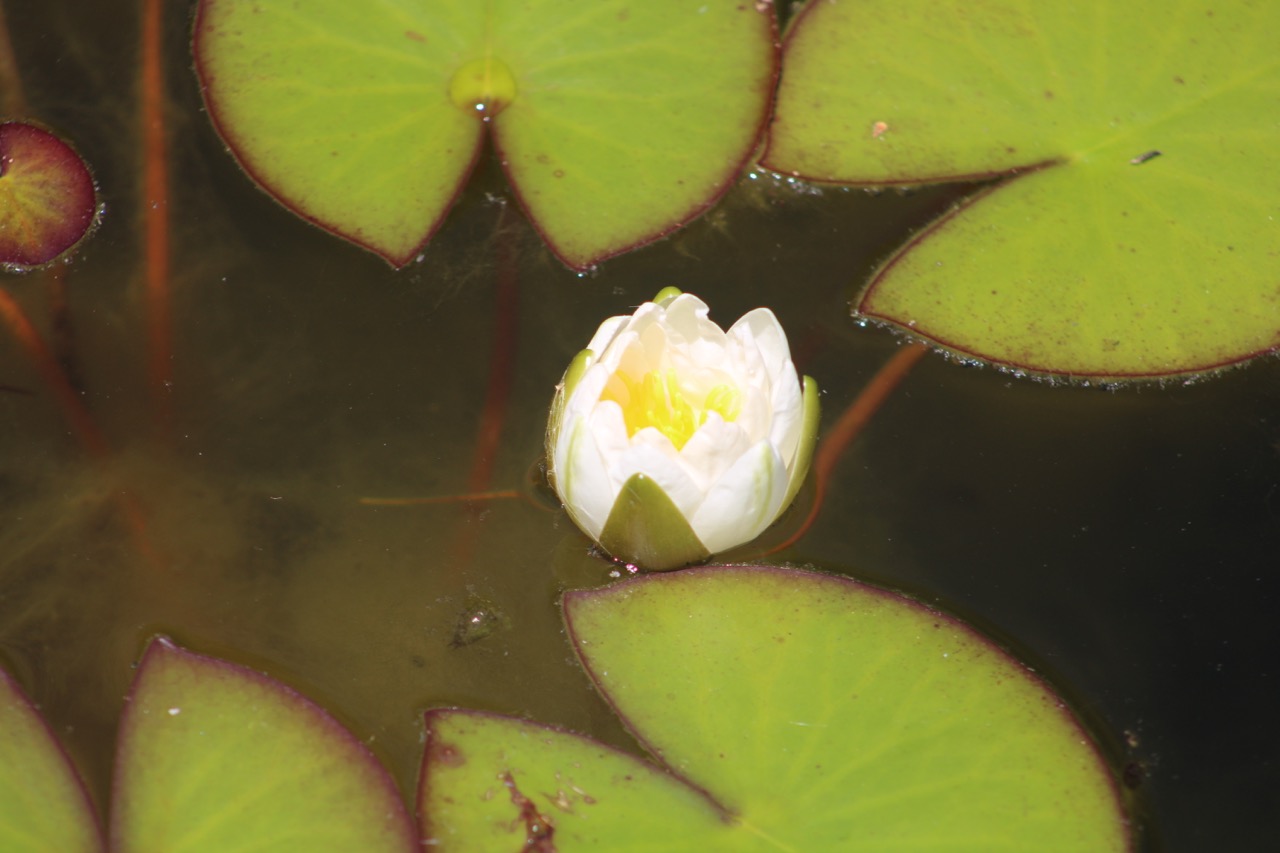
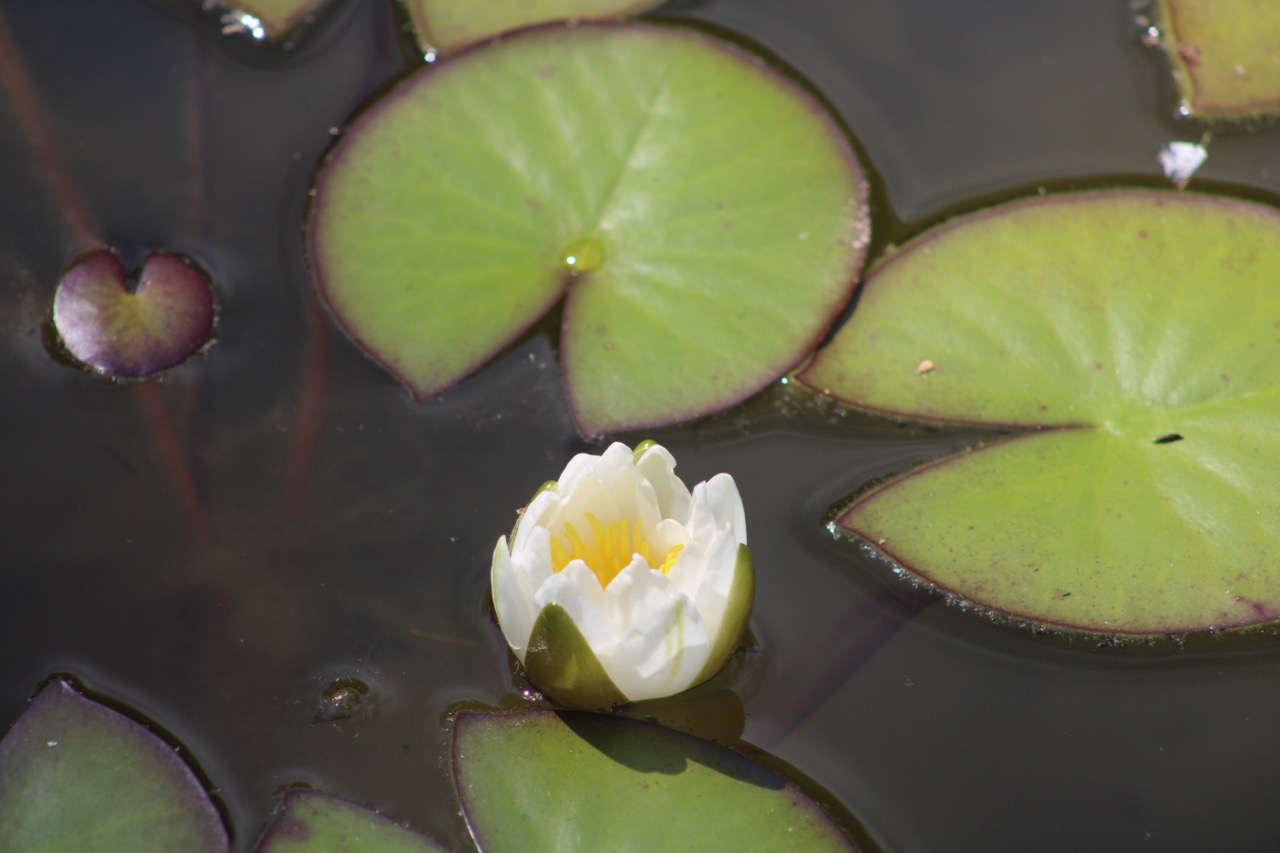
We finally got two solid rain storms this past week after a long drought. What a relief! And now four very tiny frogs have appeared in the pond. (I don’t know what happened to the one we had before that was a little bigger.) A few days ago, this new water lily flower started blooming, and today when I went out to see it, it had disappeared. But I found three of the tiny frogs perched on lily pads! The fourth was on the other side of the pond on a rock. I didn’t look too closely under the water to investigate the missing flower, so as not to scare the frogs.
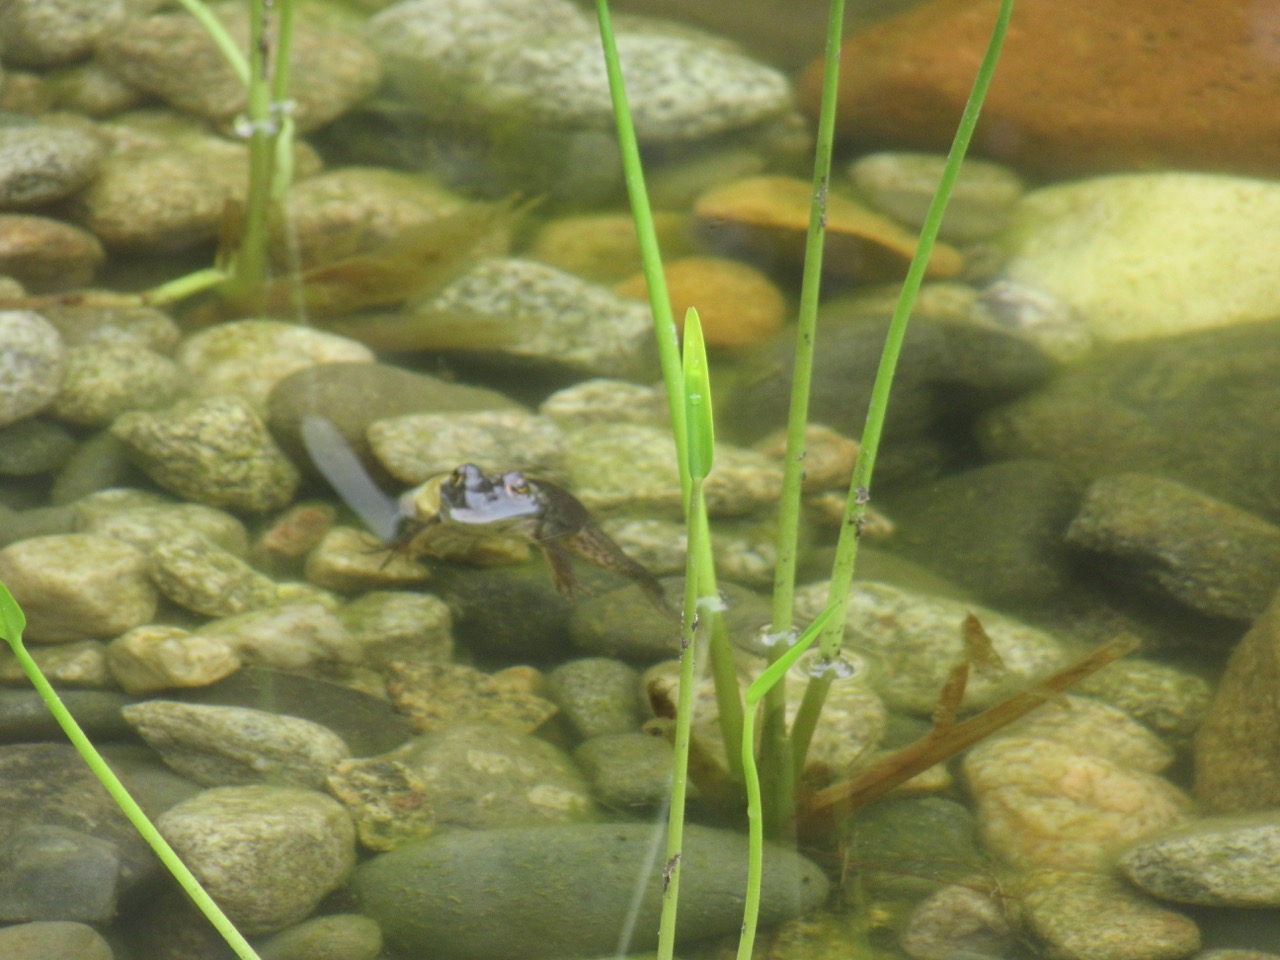
But slowly I sat down near the edge of the pond and watched for a while. A dragonfly came and perched on blue flag iris leaves. The frogs stayed on their pads.

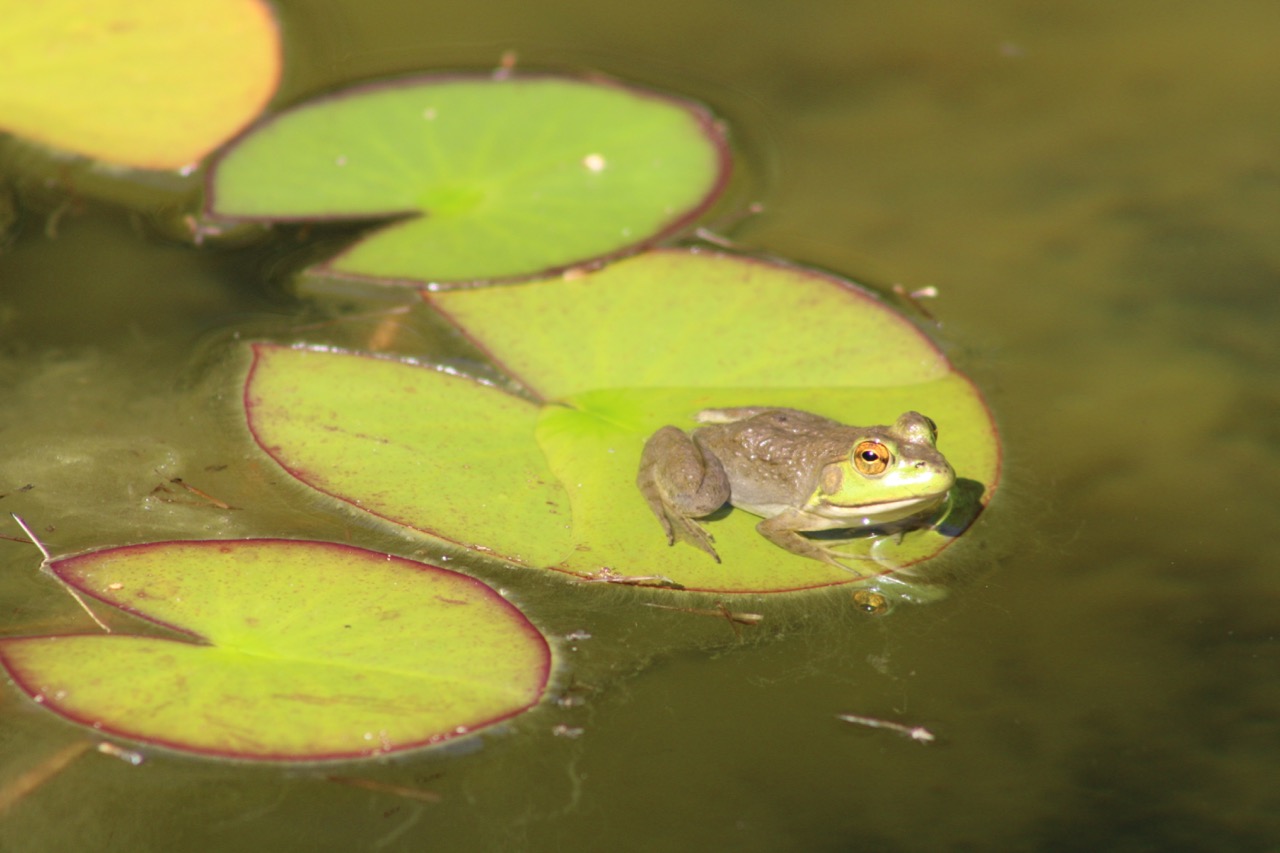
Taking close-up photos makes the frogs appear larger than they really are. They are only about an inch long nose to backside. I wonder if maybe it was the rain that enabled these small frogs to travel from some other place to our little pond? I feel refreshed by the rain too. Cool nights with windows open, listening to the dark sounds. Lovely.

Yesterday morning, I was sitting next to the pond, writing in my journal. After I’d been there, and quiet for a long time, this chipmunk approached the other side of the pond, climbed down the rocks and took long drinks of water. After a couple minutes, it quickly climbed back up the rocks and ran back into the field behind.
If you’ve been following my posts recently, you know that I’ve been dealing with chronic illness causing me to have much less energy this summer. So my relationship with the garden has changed. It has been less purposeful and project oriented, and more, “Let’s see what the yard wants to do this season.” To listen more, to do less, to observe more, to try less–and I’ve learned so much, actually.
It’s true that we had already done a lot to shape the yard–we planted many fruit trees and bushes, let wildflowers grow, planted perennials, pulled invasives, and created the pond last year. Some of the plants that were in the pond didn’t survive the winter, and I did add a few more this spring. But it wasn’t enough to prevent algae from flourishing. So periodically, I get inspired to pull out as much as I can. But I’ve also noticed that bees love to perch on the algae, to get a drink of water presumably. (There is always enough algae left for them.) It gives me gratitude to know that this pond, imperfect though it is, has been of use to these creatures in a drought-burdened summer.

Lately, my old nemesis the squirrel has come back to start eating peaches. But since I was doing so much less to nurture the peach tree–less holistic sprays, less thinning of peaches, and so on–and since I had somewhat resigned myself to having no peaches after last year, I haven’t been stressed out about that. And the squirrel or squirrels seem more mellow as well. The peaches are actually very crowded together, and every couple days, I twist off a few tightly squeezed ones, even though they are not ripe yet, to make room for the others to grow bigger. I’ve put a few on window sills in the house to see if they will ripen. I tell myself the squirrel is also thinning the peaches. We are collaborators, rather than enemies. Who knows, maybe there will be enough for all of us?

In a world with so many horrors that I can do nothing to stop, or even to protest, I am grateful to be of use to these small companions who share our back yard with us.
[And thanks to Marge Piercy‘s poem, To Be of Use, for its evocative and helpful title.]


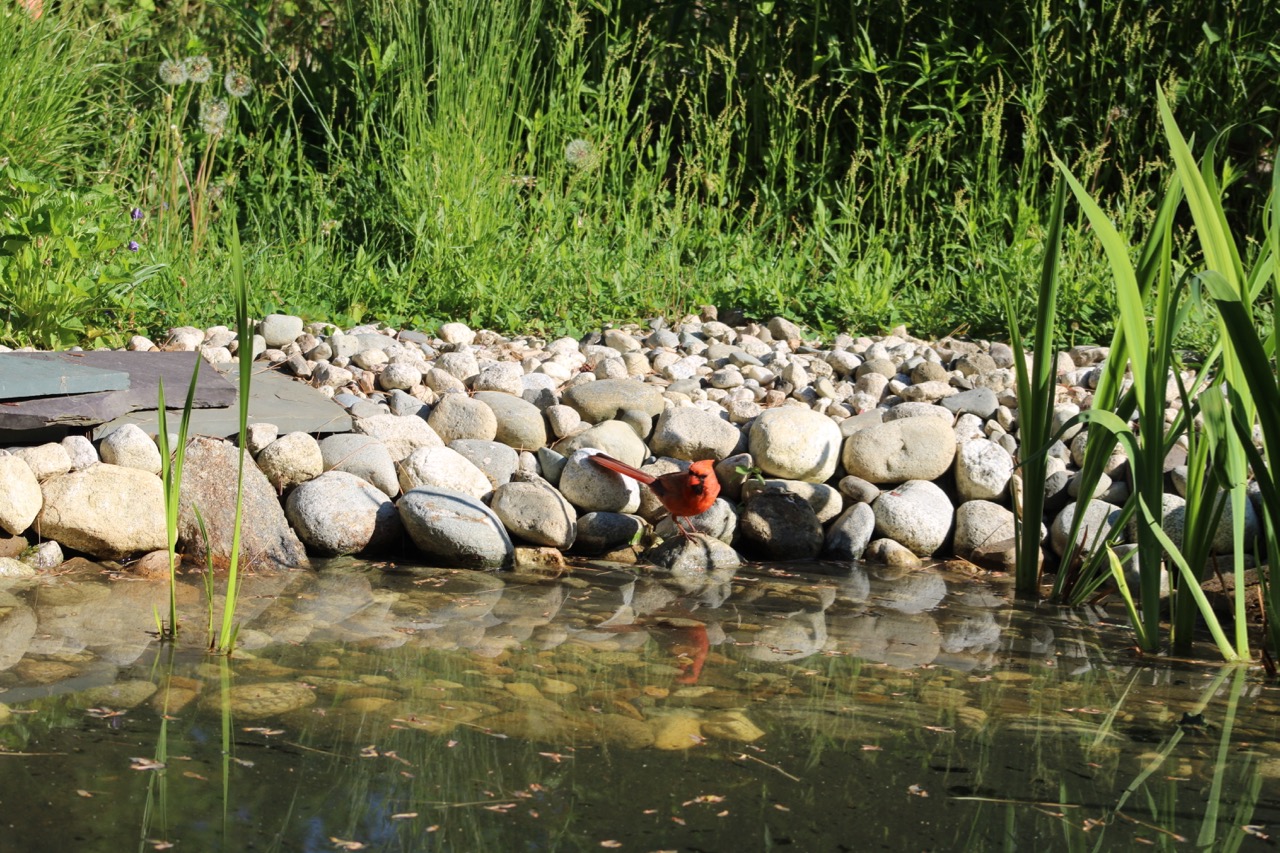
Today is the new moon. This morning I sat near the pond, reading my journal from the date of the last new moon, as is my practice. Then along came this cardinal landing on a rock on the other side of the pond, about 12 feet away from me. After I took this photo, it flew away, but then he came back a little while later, and took a sip of water. We know that having the pond is beneficial to all sorts of wildlife in the yard, but this is the first time I actually observed a bird taking a drink, especially with me sitting right there. I am grateful for this cardinal’s visit, and his acceptance of my presence in his ecosystem.
Some thoughts to remember from the journal: It is good to be claimed by this ecosystem. It is good to listen to the earth, to the plants and all beings, and to the spirits, and to follow their lead about what to do to tend this garden, and when.
Today I saw four frogs in the pond! When I went outside before breakfast, there was plenty of weeding to do in the orchard, but I was drawn instead to bring my camera and just sit by the pond. When I first walk back to the pond, the frogs often jump from where they’ve been sitting, and swim down into the deeper water. Two of them went under with a little squeak. But there were three plops both yesterday and today, so I knew there were at least three frogs.


If I sit quietly next to the pond, eventually they come back to a sitting spot. So I wait. Today I was able to take pictures of three of them while I sat. But I find myself favoring the tiny little frog that was the first to come to the pond. Soon I imagine we will give them names, but for now, I am identifying them by number. This one is so very tiny. At most an inch and a half head to backside, and skinny. Also very friendly. She often perches near where I sit.


Yesterday, I was also able to take photos of frog #2, who was a little bigger than frog #1. But today, I saw both #2 and #3 after they re-emerged, and came to sit/float near each other by the little beach. #3 looked so much fatter/bigger than the other two, but then I realized depending on the angle, frog #2 could also be somewhat fat. I think they were about 2 1/2 inches long.


So Frog #3 is the largest, and seemingly the shyest. Quickest to jump back into the water, so far. But I got several shots of #3 today. And then, just as I was about to leave, I saw another tiny little frog floating nearby, between me and the beach. So Frog #4. More like #1 in size.
It is just so amazing to watch the wildlife in the pond. I can sit and sit. I also saw dragonfly nymphs again. But eventually I got hungry so I came inside for breakfast. I feel so grateful.

Today the frog in the pond let me take its picture! I came outside this morning and just sat for a while at the edge of the pond, writing in my journal and being quiet under a cloudy sky. It felt a little bit peculiar to be done with the work of building the pond. To let go of the strange obsession for finding stones that has filled the last several weeks. I have been working on the pond since April! I didn’t see the frog at first. I was glancing around at the yard, and all the ways that Margy and I get overwhelmed trying to care for the land. We are old, we are disabled, we are ignorant of the many needs of plants, just beginners. It is hard to be good stewards of the land. There is always more to do than we can do. So I make a decision to let go: let go of the burden of it, let go of the overwhelm, let go of trying to do more than we can. Here I am, it’s a new day: be amazed at life!
At some point, I decided to walk around the edge of the pond to look at how the plants are doing. And then I suddenly saw the frog, sitting quietly. No plops into the water, no jumping away. Just sitting quietly, paying no mind to me while I was also sitting quietly, and now walking quietly. (Perhaps it has figured out that we people who come to this pond are no threat–we can share the pond?) It was on a big stone at the bottom of the beach, with its eyes out of the water and its very tiny body in the water. Its head maybe a half inch long, its body another inch, long folded legs. It let me take its picture many times. When I walked back to my chair, this is how it looked from over there, almost invisible, but now visible to me:

When I came back inside, I did more research, and this frog seems to be of the species called the green frog–the most common frog in our region-it can be green, olive, brown. (One site joked–close your eyes and think of a frog–that is the green frog.) It is likely a female, because the tympanum–the round “ear” circles behind its eyes–are the same size as its eyes. In males, they are larger.
UPDATE: I’VE GONE ROUND AND ROUND ON THE IDENTIFICATION OF THIS FROG. I WONDERED IF IT COULD BE A FEMALE BULLFROG, BECAUSE THE DORSAL-LATERAL RIDGES GO BEHIND THE EARS, RATHER THAN DOWN THE BACK. BUT THEN I REALIZED IT WAS MUCH TOO SMALL FOR A BULLFROG. I AM BACK TO THINKING IT IS A GREEN FROG. SEE THIS CAN YOU ID THE FROG SITE.
I sat with the frog for quite a bit longer, until some raindrops started falling on the water, on me, on the frog. I stood and looked away for a moment, and when I looked back she was gone without a sound. What a lovely teacher she was for the practice of sitting quietly, for letting go, and being amazed by life.

This morning, when I approached the pond, I heard a distinctive plop! And later, approaching again, I saw a tiny frog leap quickly from the beach rocks into the water. Another plop! It is our first frog. (Or maybe it is a toad–still not sure). No chance to catch it in a photo. But I am sure it was the best sound all day! And in more good news, most other pond projects are now complete.
The other day I used up the rest of the half-yard of stones I had gotten delivered early in the process–I added more to the planting ledge so that the plants were better anchored, and then I planned to use the rest of the stones in an upgraded overflow channel spill hole.
We had two inches of rain from tropical storm Elsa, and I was out there in my raincoat in the rain with a shovel, digging the spill hole bigger so muddy water wouldn’t flow back into the pond. Yesterday, I took a leaky five gallon bucket and drilled lots of holes all over it, so water would flow through it easily, but it could hold stones. Then I dug the spill hole deep enough to put the bucket down below the level of the spillway. I filled the bucket with small stones, and also put stones underneath and around the outside of it, finishing up with it today. Another rain is coming tomorrow so I will see if it works.

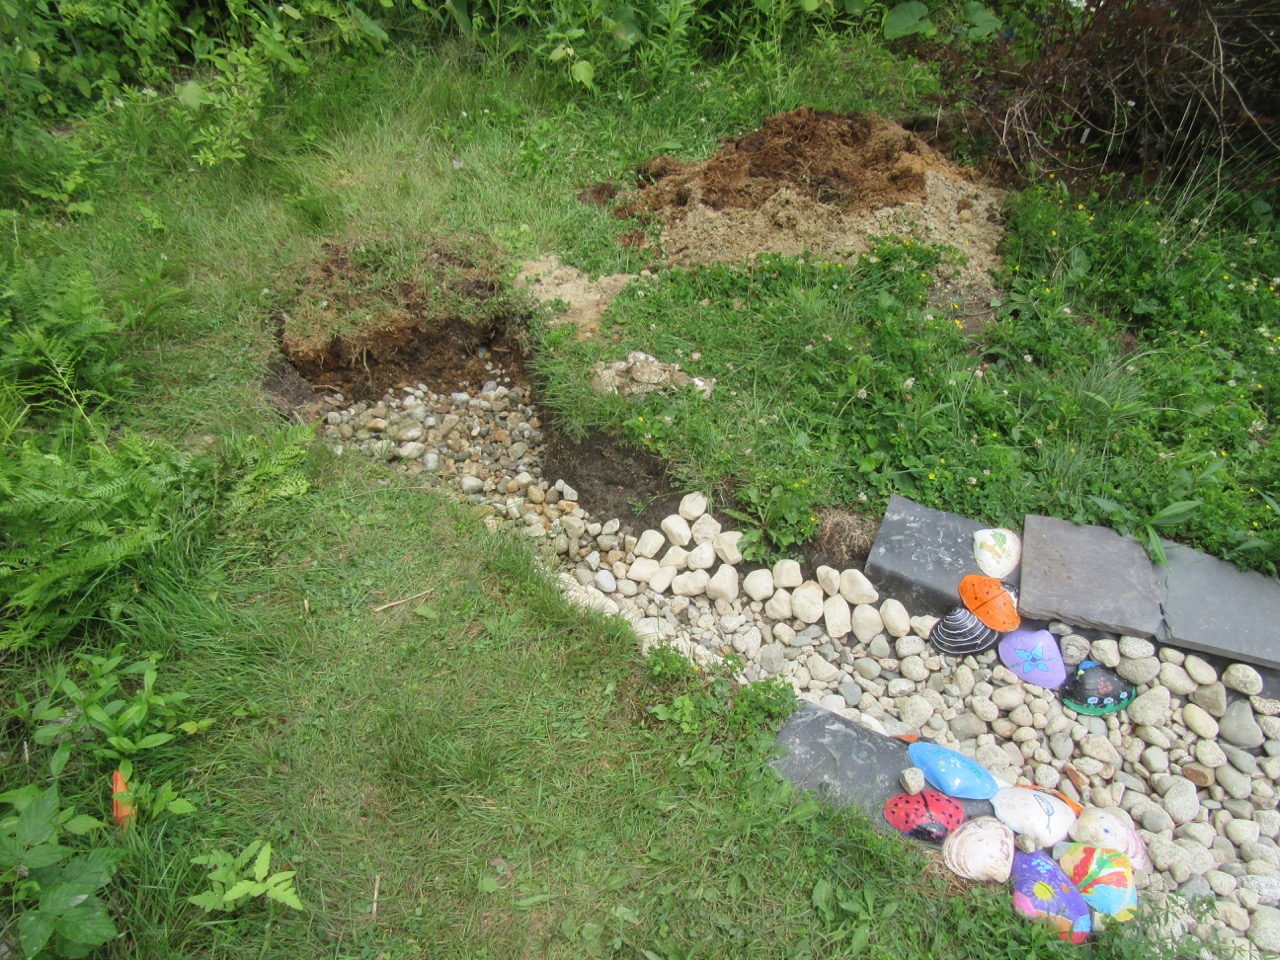
I have gone on many adventures looking for stones on the side of country roads, but I finally succumbed to the temptation to buy a few more bags of stones at the big box store. (I had tried that once before but the quality was terrible.) I needed more small stones to fill up the spill hole, and I needed larger ones for one small section of pond siding under the little deck. The small ones enabled me to complete the spill hole. The larger ones were a weird cream color, that left a creamy residue when washed. I don’t know what they do to them. But I put them in place, along with a few bricks, under the little deck, and now it is complete.
Since my last posting, I was also delighted to receive some blue flag iris from our friend Lisa Fernandes, who gleaned it from her pond. They are already growing new shoots! You can see them in the upper photo, the largest plants on the other side of the pond. I also transplanted my little pond lily tubers into a larger basket filled with stones, and placed them on the lower shelf.
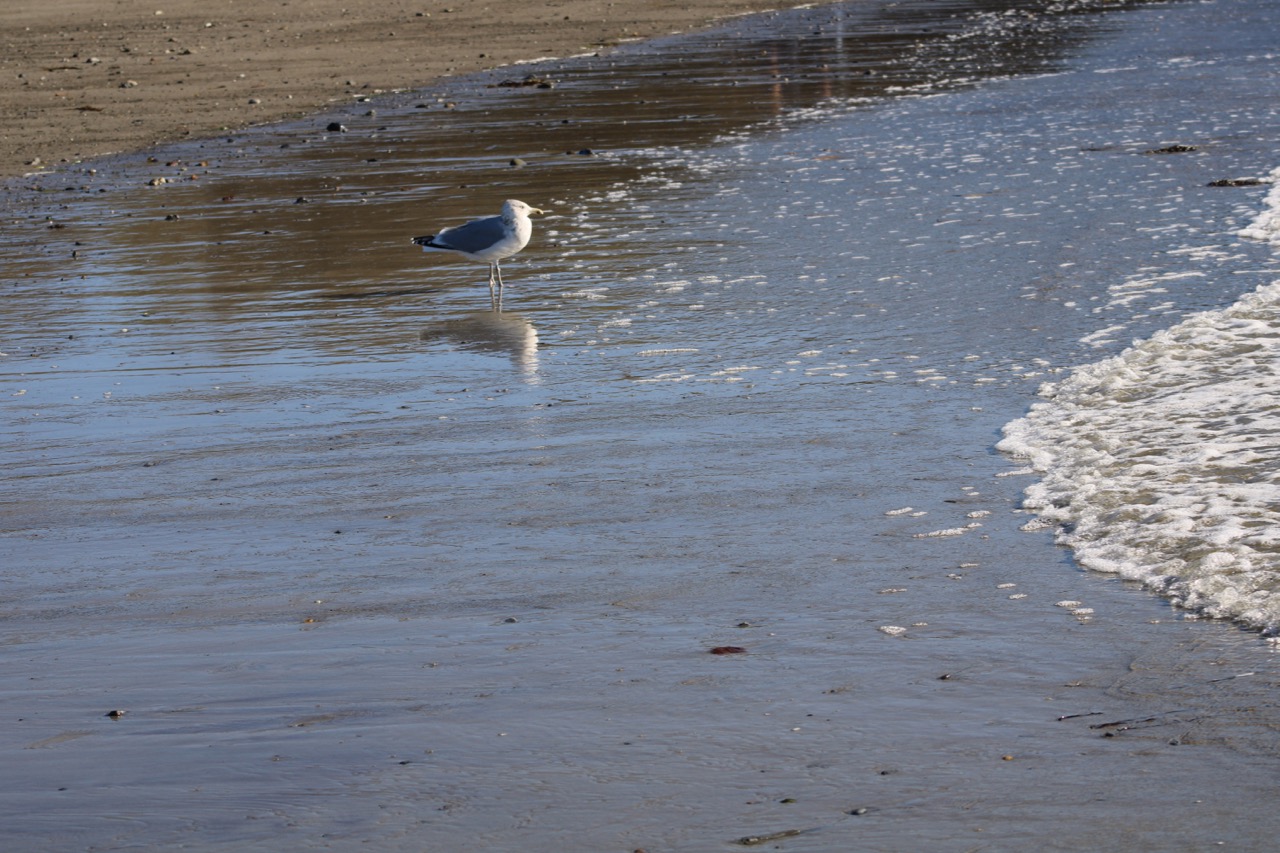
It is so lovely to sit by the side of the pond and watch the reflections on the water… may you have such loveliness in your life.

Yesterday, I installed a little deck on the edge of the pond! This idea was an evolving process–at first I was going to put a large slate stone at the spot on the surface that leads into the steps inside the pond. But working on the pond during the last several weeks, I discovered that slate gets really, really hot in the sun. So then I was trying to come up with something that could serve as a top step that wouldn’t get hot.
Happily, I found an upcycling solution! In our garage, there were six wooden decking boards from the previous owners that were stored on rafters above the cars. They were very heavy, about six feet long, and some of them were attached to each other, but I was able to get two of them down. The boards were painted brown, and they too got very hot in the sun. But then I found some older paint cans in the basement. I did a prime coat of white on one day, and then a coat of light gray concrete paint, which has some waterproof qualities, two days later. Yesterday, I drilled holes and screwed them together with small boards I had also painted.
Everything was a bit off level–the boards, the ground–so I installed them using small stones underneath to stabilize things. Voila! We now have a top step, which is also a little deck where we can sit on the very edge of the pond, with our feet in the water. And after positioning a few more stones, and slate rocks, I can now say that the surface level of the pond is virtually complete. I still need to find some more five inch stones to line the rest of the vertical sides under that area, but if you look at it from this side, you can’t see any liner showing.
The tiny plants are starting to grow a bit, the pond lily rhizome that I positioned on a lower level sent up a tiny leaf all the way to the surface. I’ve topped up the water level with water from the rain barrel once. I plan to add more small stones to the planting ledge to give plants more to hang onto. This morning it looked like someone had messed around with the pickerel rush plants. I still have to finish the overflow channel. It will all continue to grow and develop as the summer goes on… hopefully the plants will start to take over half the surface of the water. But what a happy moment today!

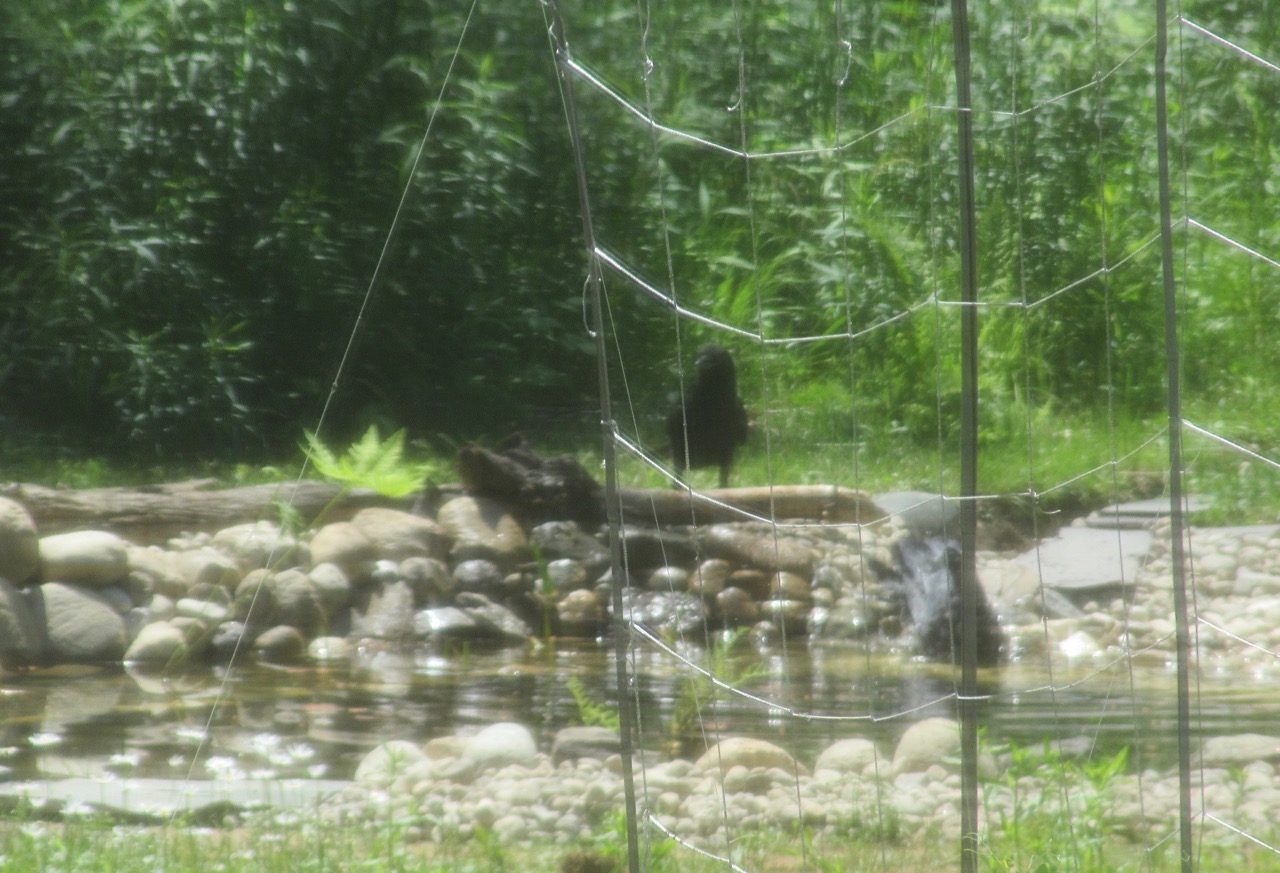
Yesterday, I was excited to see a few crows visiting the pond! I was looking out my window from the house, and there is a string-and-bamboo trellis (for our snap peas) about halfway between the house and the pond that partly blocks the view. But if you look carefully, you can see one crow taking a bath, while the other is perched on a log on the edge behind it.
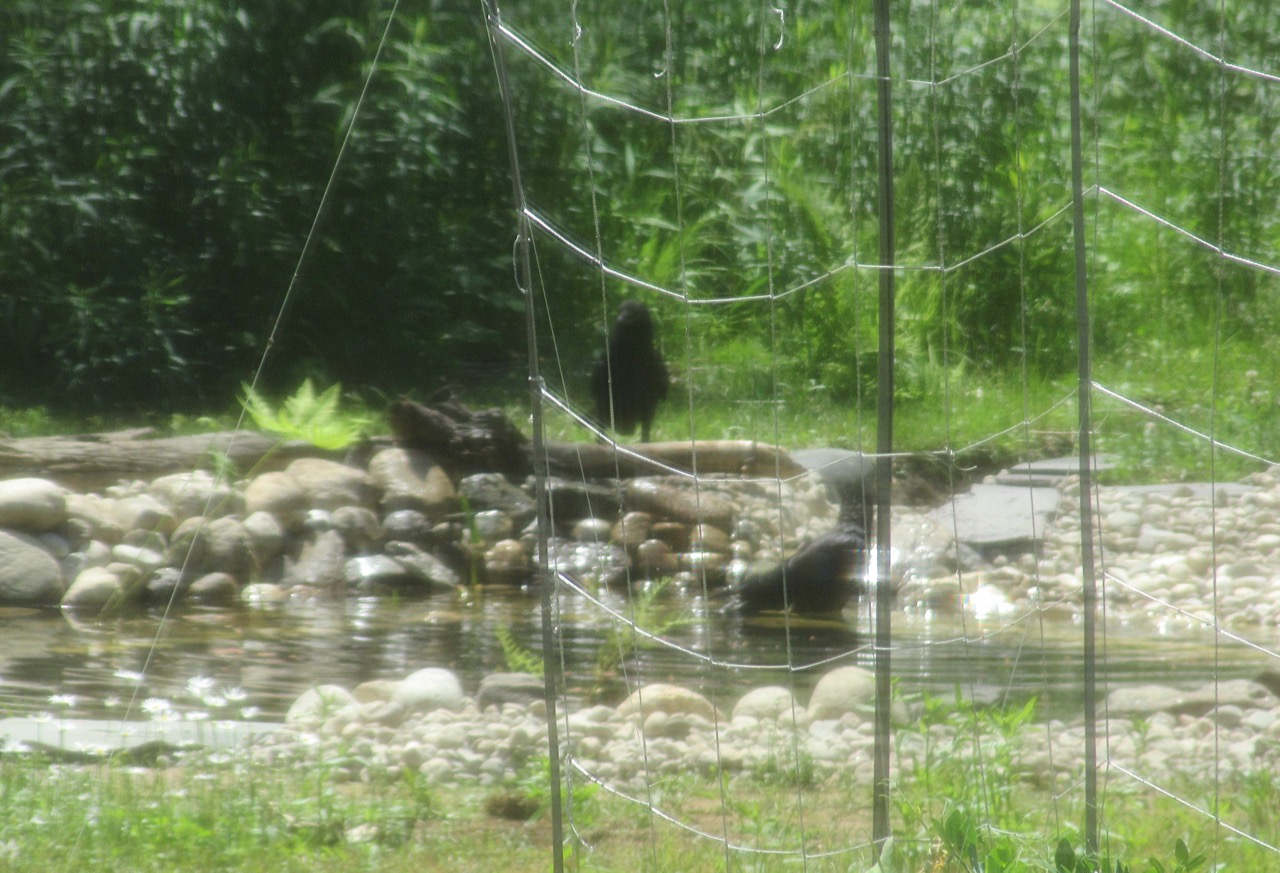
I have been slowly gathering more stones from country roads, and adding them to cover the pond liner all around the edge, along with placing some aging branches there, from around our land. Seeing the crows perched on the branches, I am so glad I included them. This process of covering the liner edge is about two thirds complete now, and the plants in the water are also beginning to grow some new leaves and shoots.

I didn’t notice until I saw these photos, but one crow has picked up a little stone in his beak! He reminds me of me as I go around looking for stones the right size for the edge. I wonder if he brought it with him to place somewhere himself. (By the way, I don’t know whether these crows are male or female, but they are not “its” so I prefer to give them personal pronouns. I wish English was like the Wabanaki languages in that the personal pronouns are not gender specific.) After placing a new batch of stones in the morning, I felt really exhausted and rested for the afternoon. But in the evening, I came out and just sat down next to the pond, enjoying the reflections in the water.
